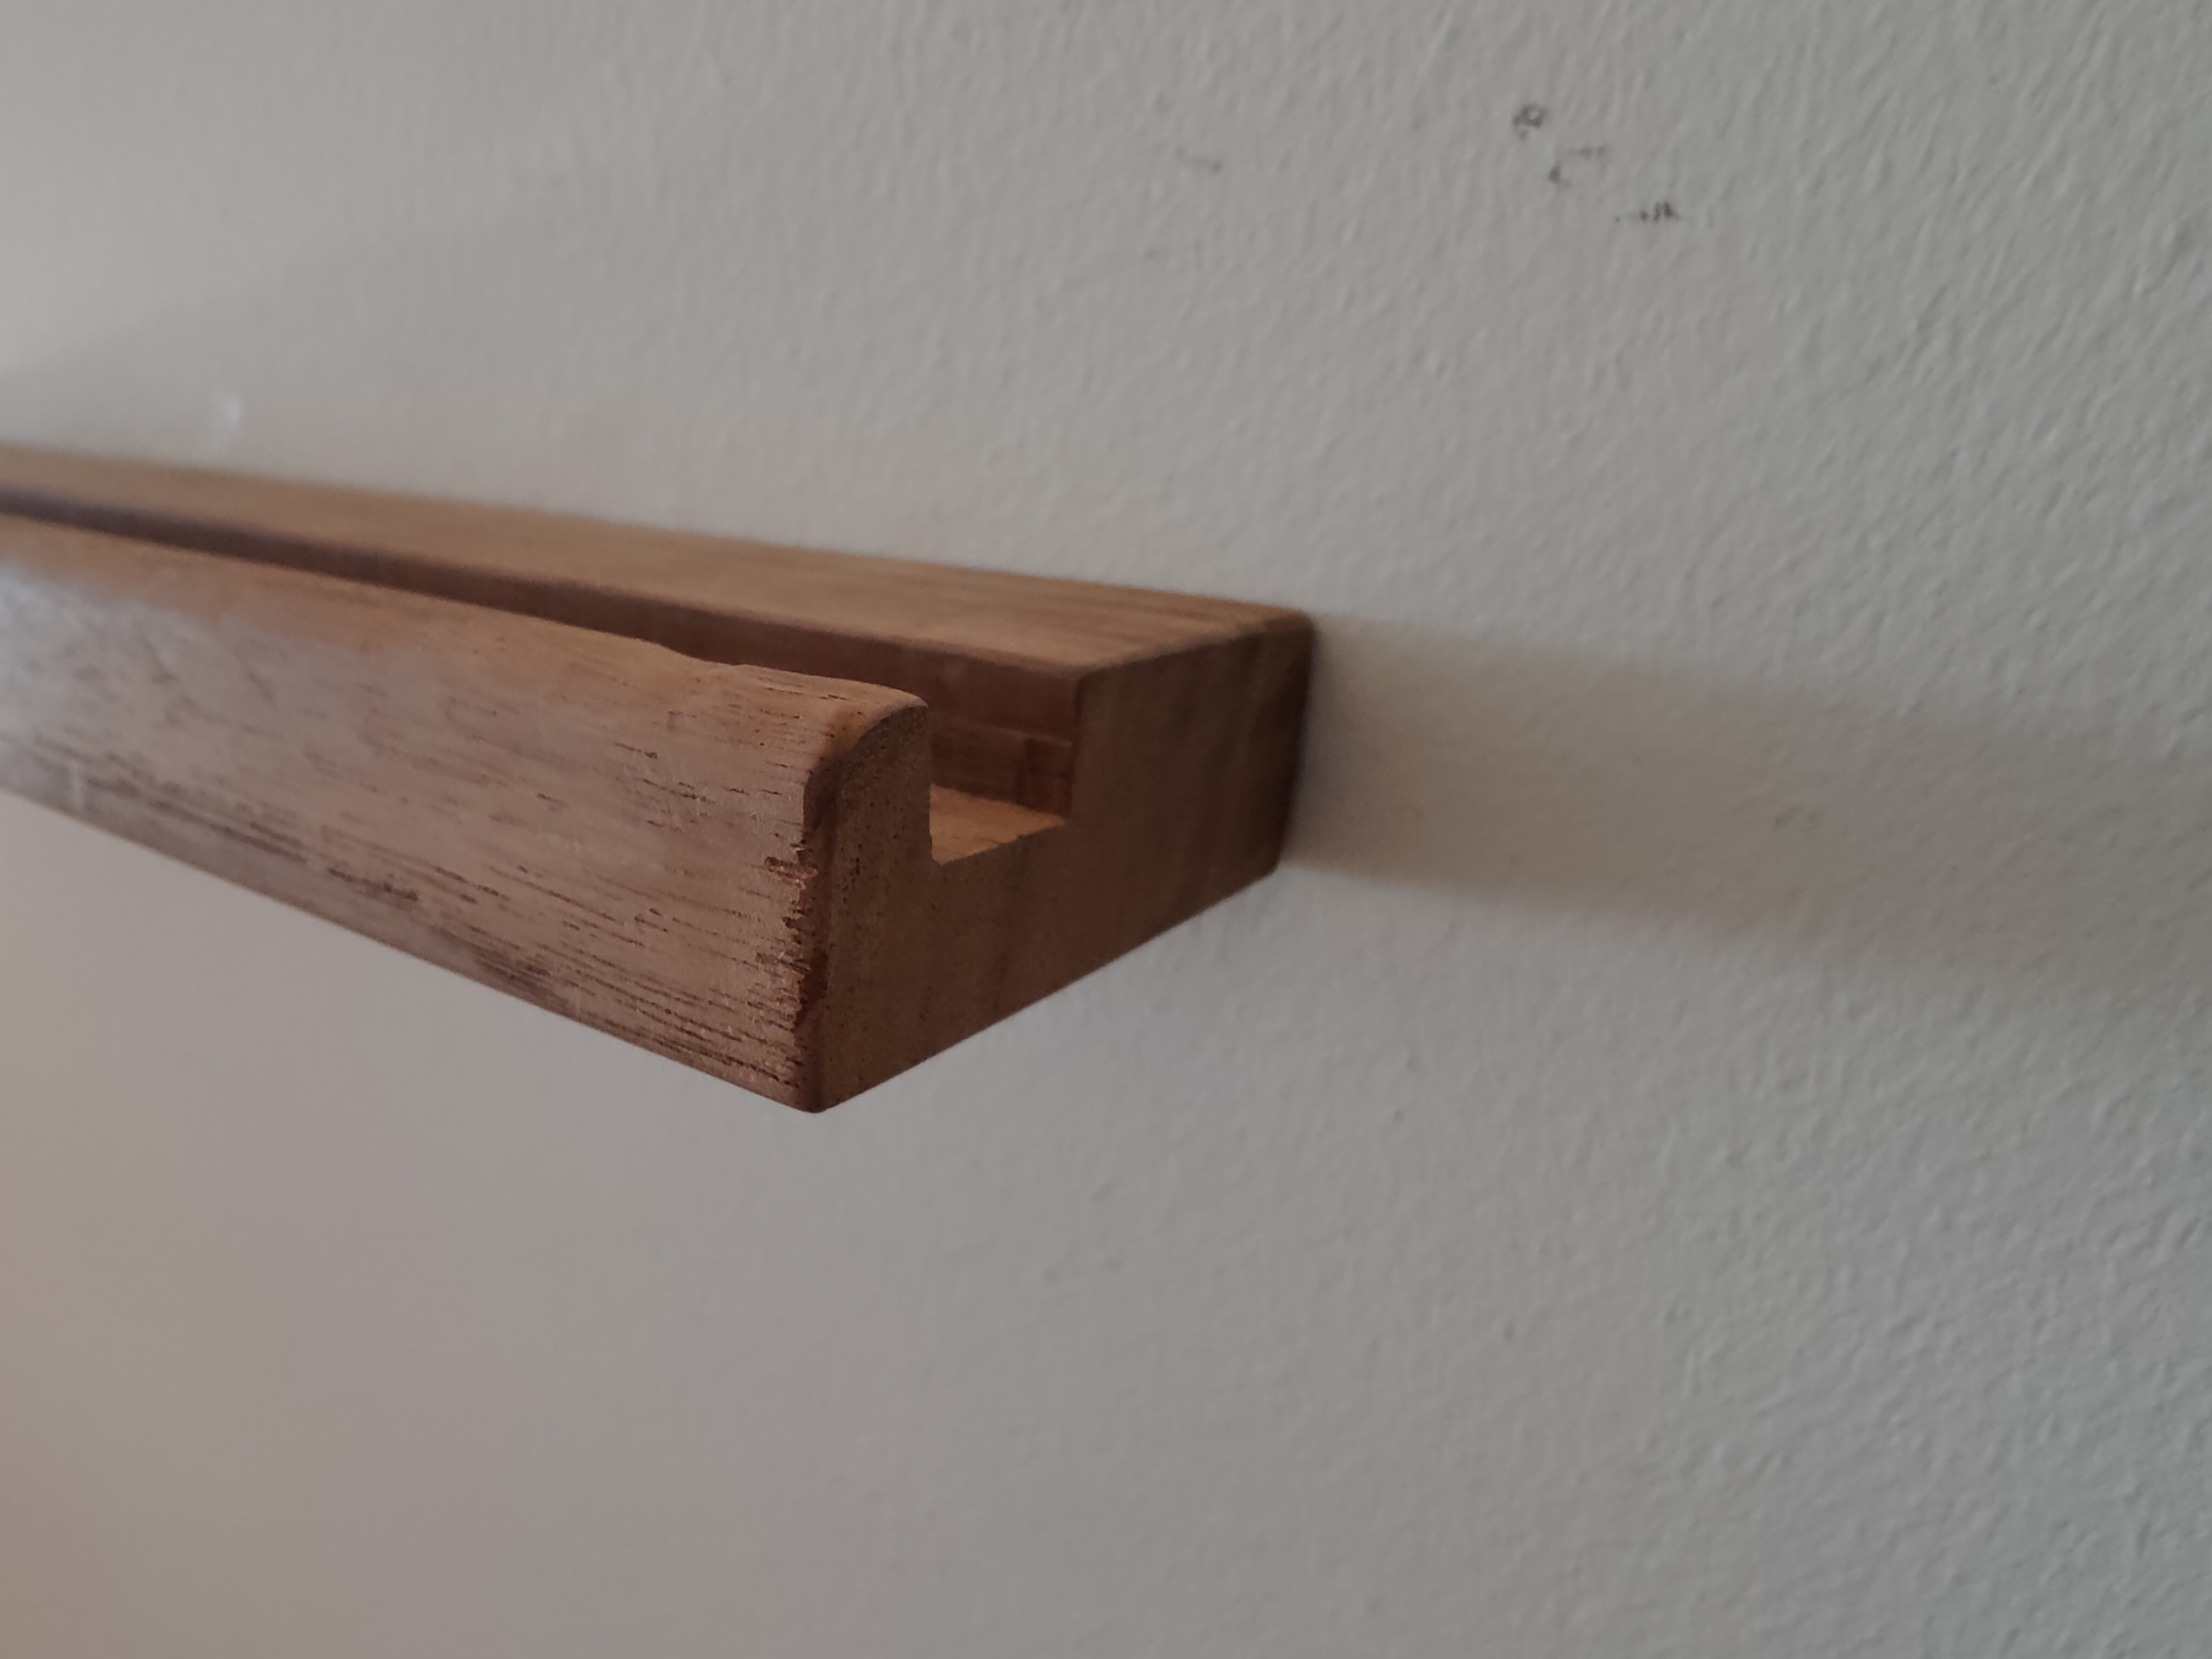
Not a lot of reflection here. Just a little story about building a shelf for holding vinyl records. In essence it is a piece of wood with a groove in it. It ‘should be relatively simple’ and ‘I have all the tools already’ are some of the clever things I’ve said before starting.
 Final result / what to expect if you keep reading
Design
 The different designs in consideration
Originally I considered two different designs, design A and B. But after talking with a carpenter at a family event, I was put onto the path of design C.
Design A is made by a single piece of wood, and will be mounted using keyhole hangers. It is relatively simple. But it will be hard to ensure that the shelf does not wobble, as the keyhole hangers are in the same line and very hard to adjust. So relatively high precision is needed here, and probably a lot of fiddling.
Design B is made of two pieces of wood. One piece will be mounted on the wall with sunken screws, inside a dovetail groove. The other piece of wood, will be joined in an unglued dovetail joint. It is pretty cool, but I am unsure if i can pull it off. But given that I have access to a router (Bosch POF 1400 ACE), it might not be that bad. But I am missing a good dovetail bit, that is small enough for the shelf thickness.
Design C is similar to design A, but it is mounted using classic floating shelf mounts. Which is basically just two rods mounted to the wall. The shape of the mount needs to be chiseled into the shelf, and the rods might need to be shortened, if they are too long.
The wood
For this project I choose walnut. I did not research a lot beforehand. But it sounded very cool to say “I’m building it in walnut”. I found a place where they sold walnut wood in roughly the dimensions i needed. I thought that I would get some wood with a finish that was shelf ready. However the surfaces was pretty rough, due to tearout during during manufacturing.
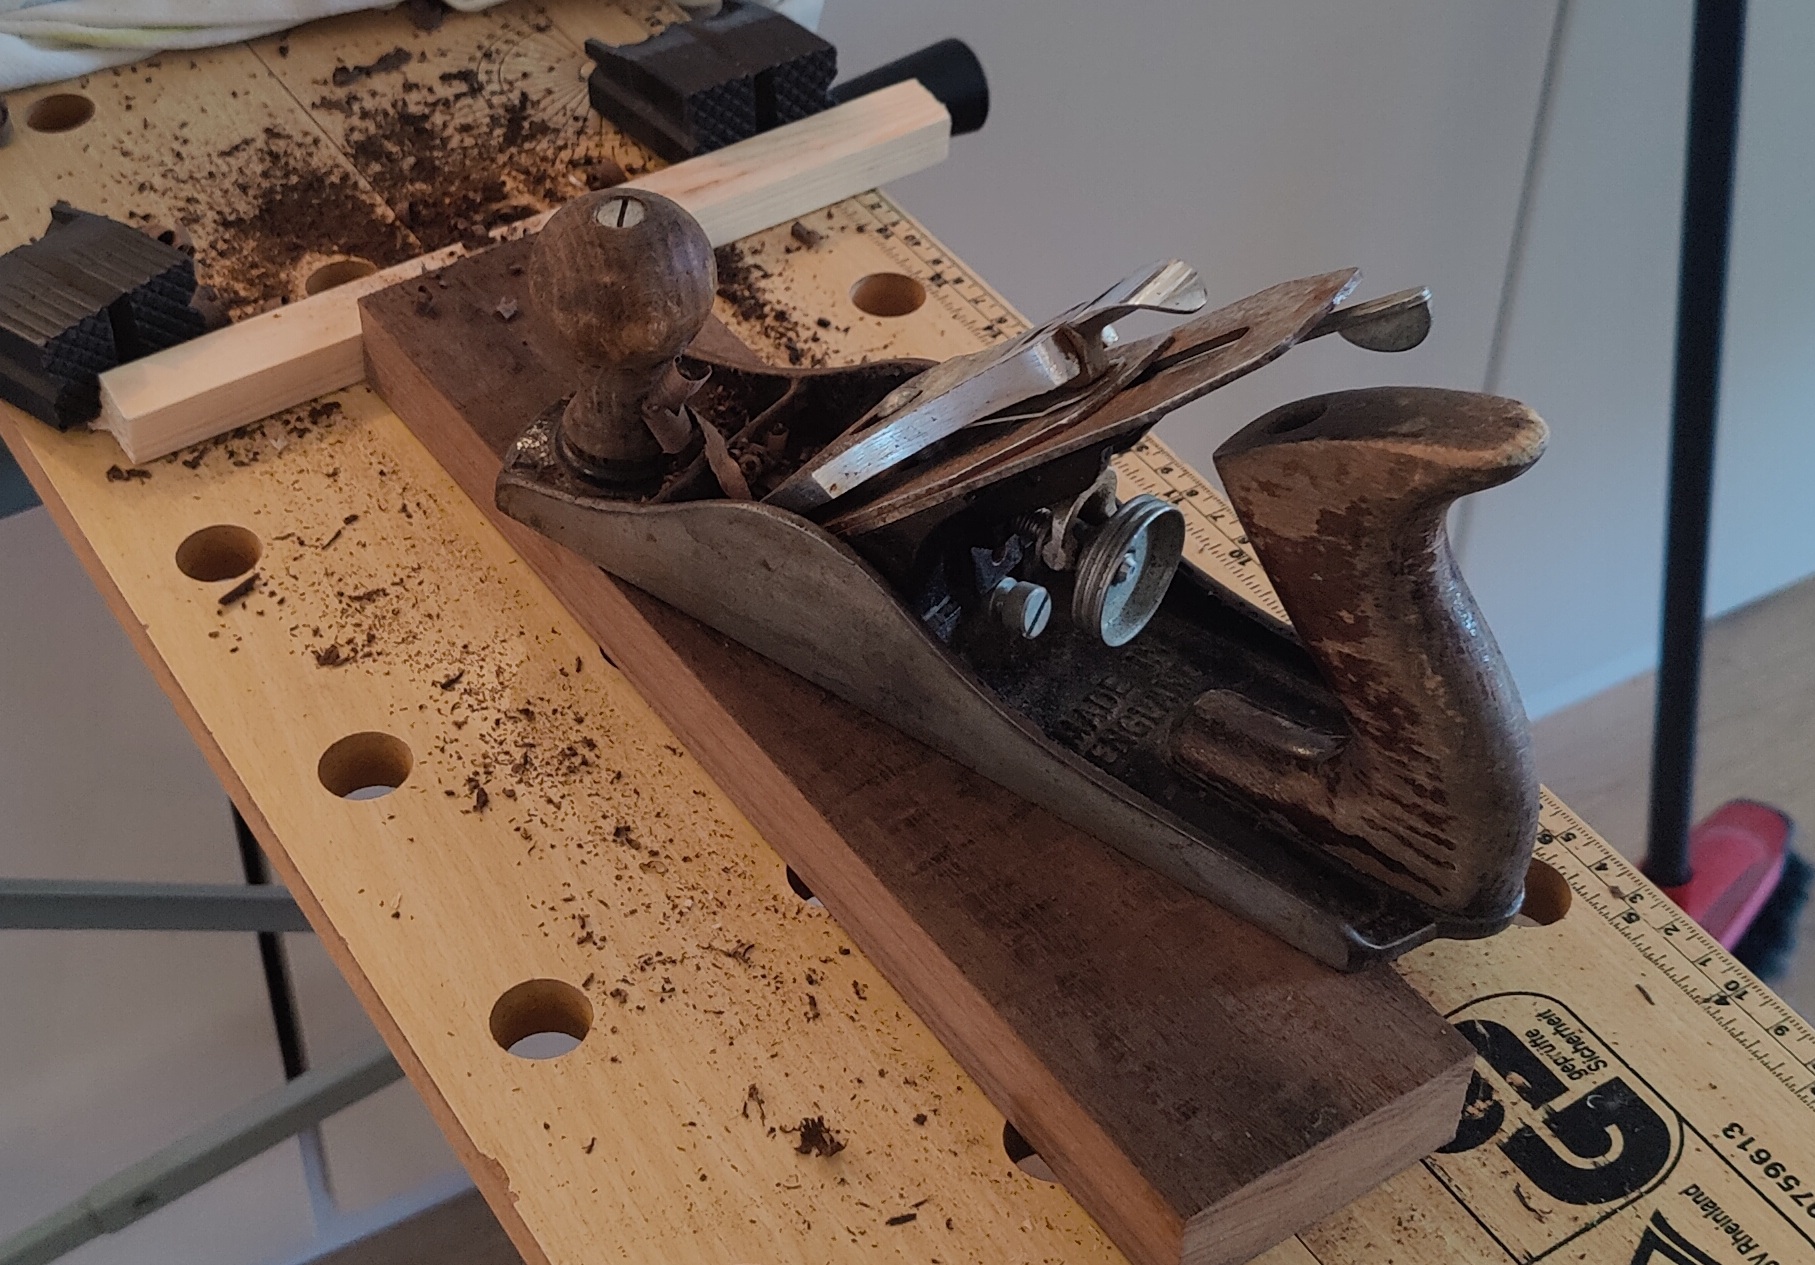
In order to resolve this I decided to look for a Stanley finishing planer. I found one being sold by a sweet elderly lady 14km away from my home. After a 28 km bike ride in headwind, I now had a rusty Stanley no 4 planer. After fiddling with it and testing on some softer scrap wood, I gave it a try on the walnut.
Quickly I discovered that walnut is harder, and required a bit more finesse and attention to grain direction. I knew it before starting, but my hands didn’t. It became a bit easier once I realized the effect of slightly rotating the planer. But perhaps sharpening the iron, but that is a task for another time. This is how it went.
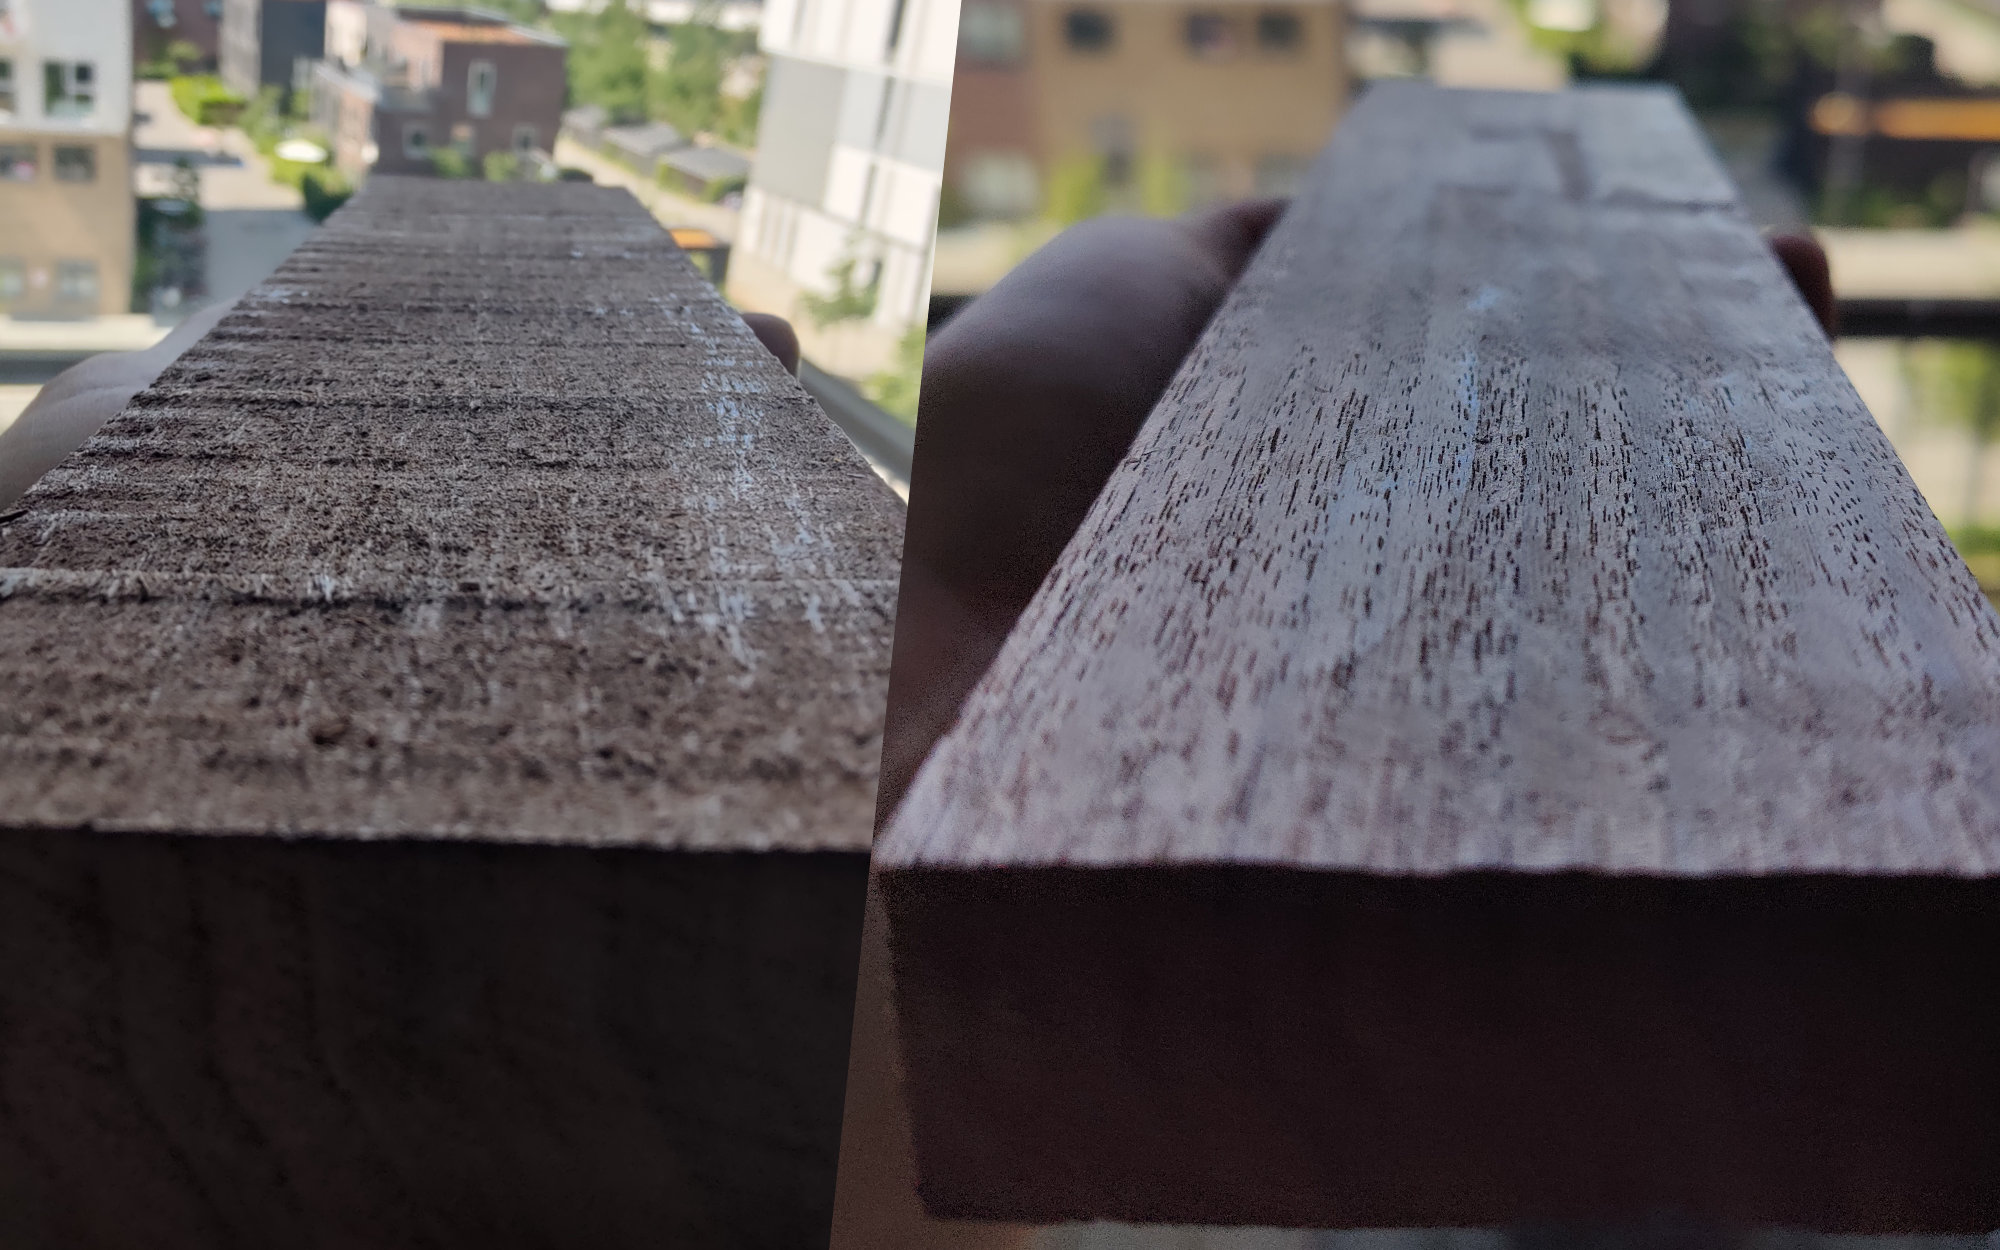 Before and after planing
I think I still need to sand it quite a bit though. But the surface is somewhat nice, considering that I’ve never really planed anything before.
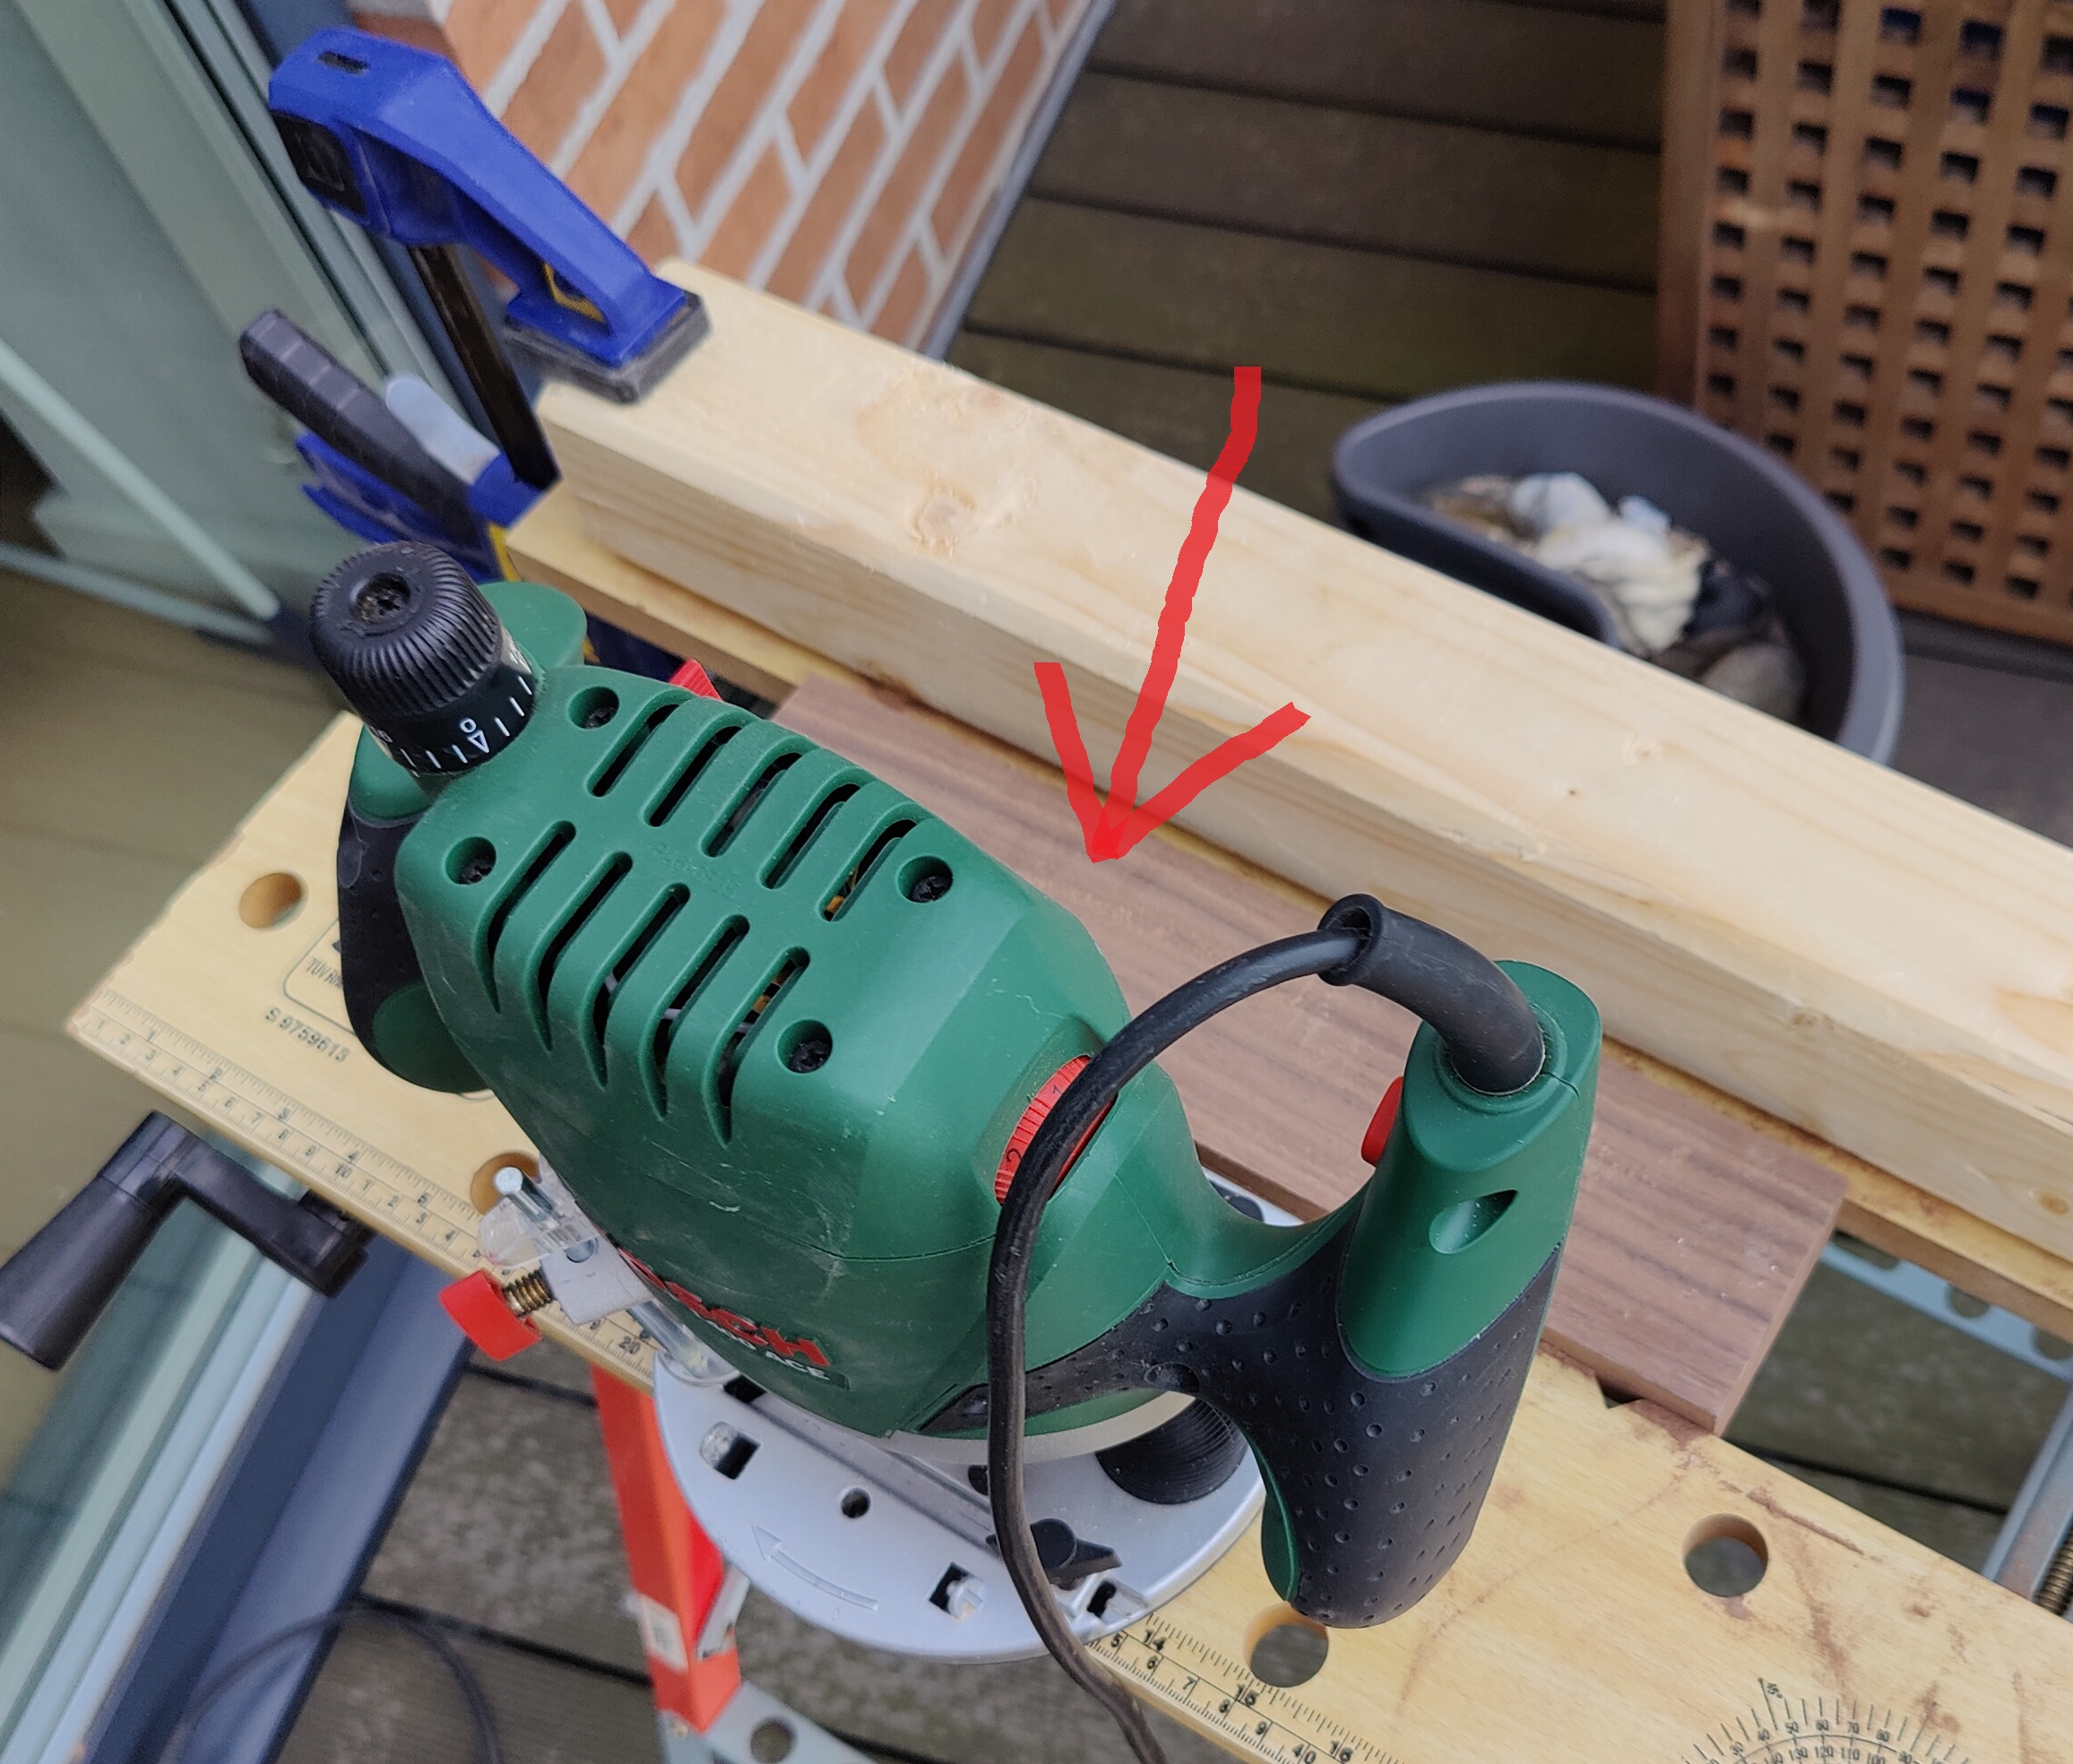
Testing out router setup
I’ve never used a router before. But one time spend a whole day riding a train and walking the country side, just to pick up a Bosch POF 1400 Ace at a good price, hoping to use it one day. My reasoning behind specifically the 1400 model, and not the 11-, 12- or 1300 was that 1400 has ⚡MORE POWER⚡ (1400 watts), finer adjustments and can handle both 6mm and 8mm bits. Not sure I am ever gonna use those features, but still pretty nice. Finally the time has come to do some testing. I found a scrap piece of wood and tested out the beast. Here is how it went.
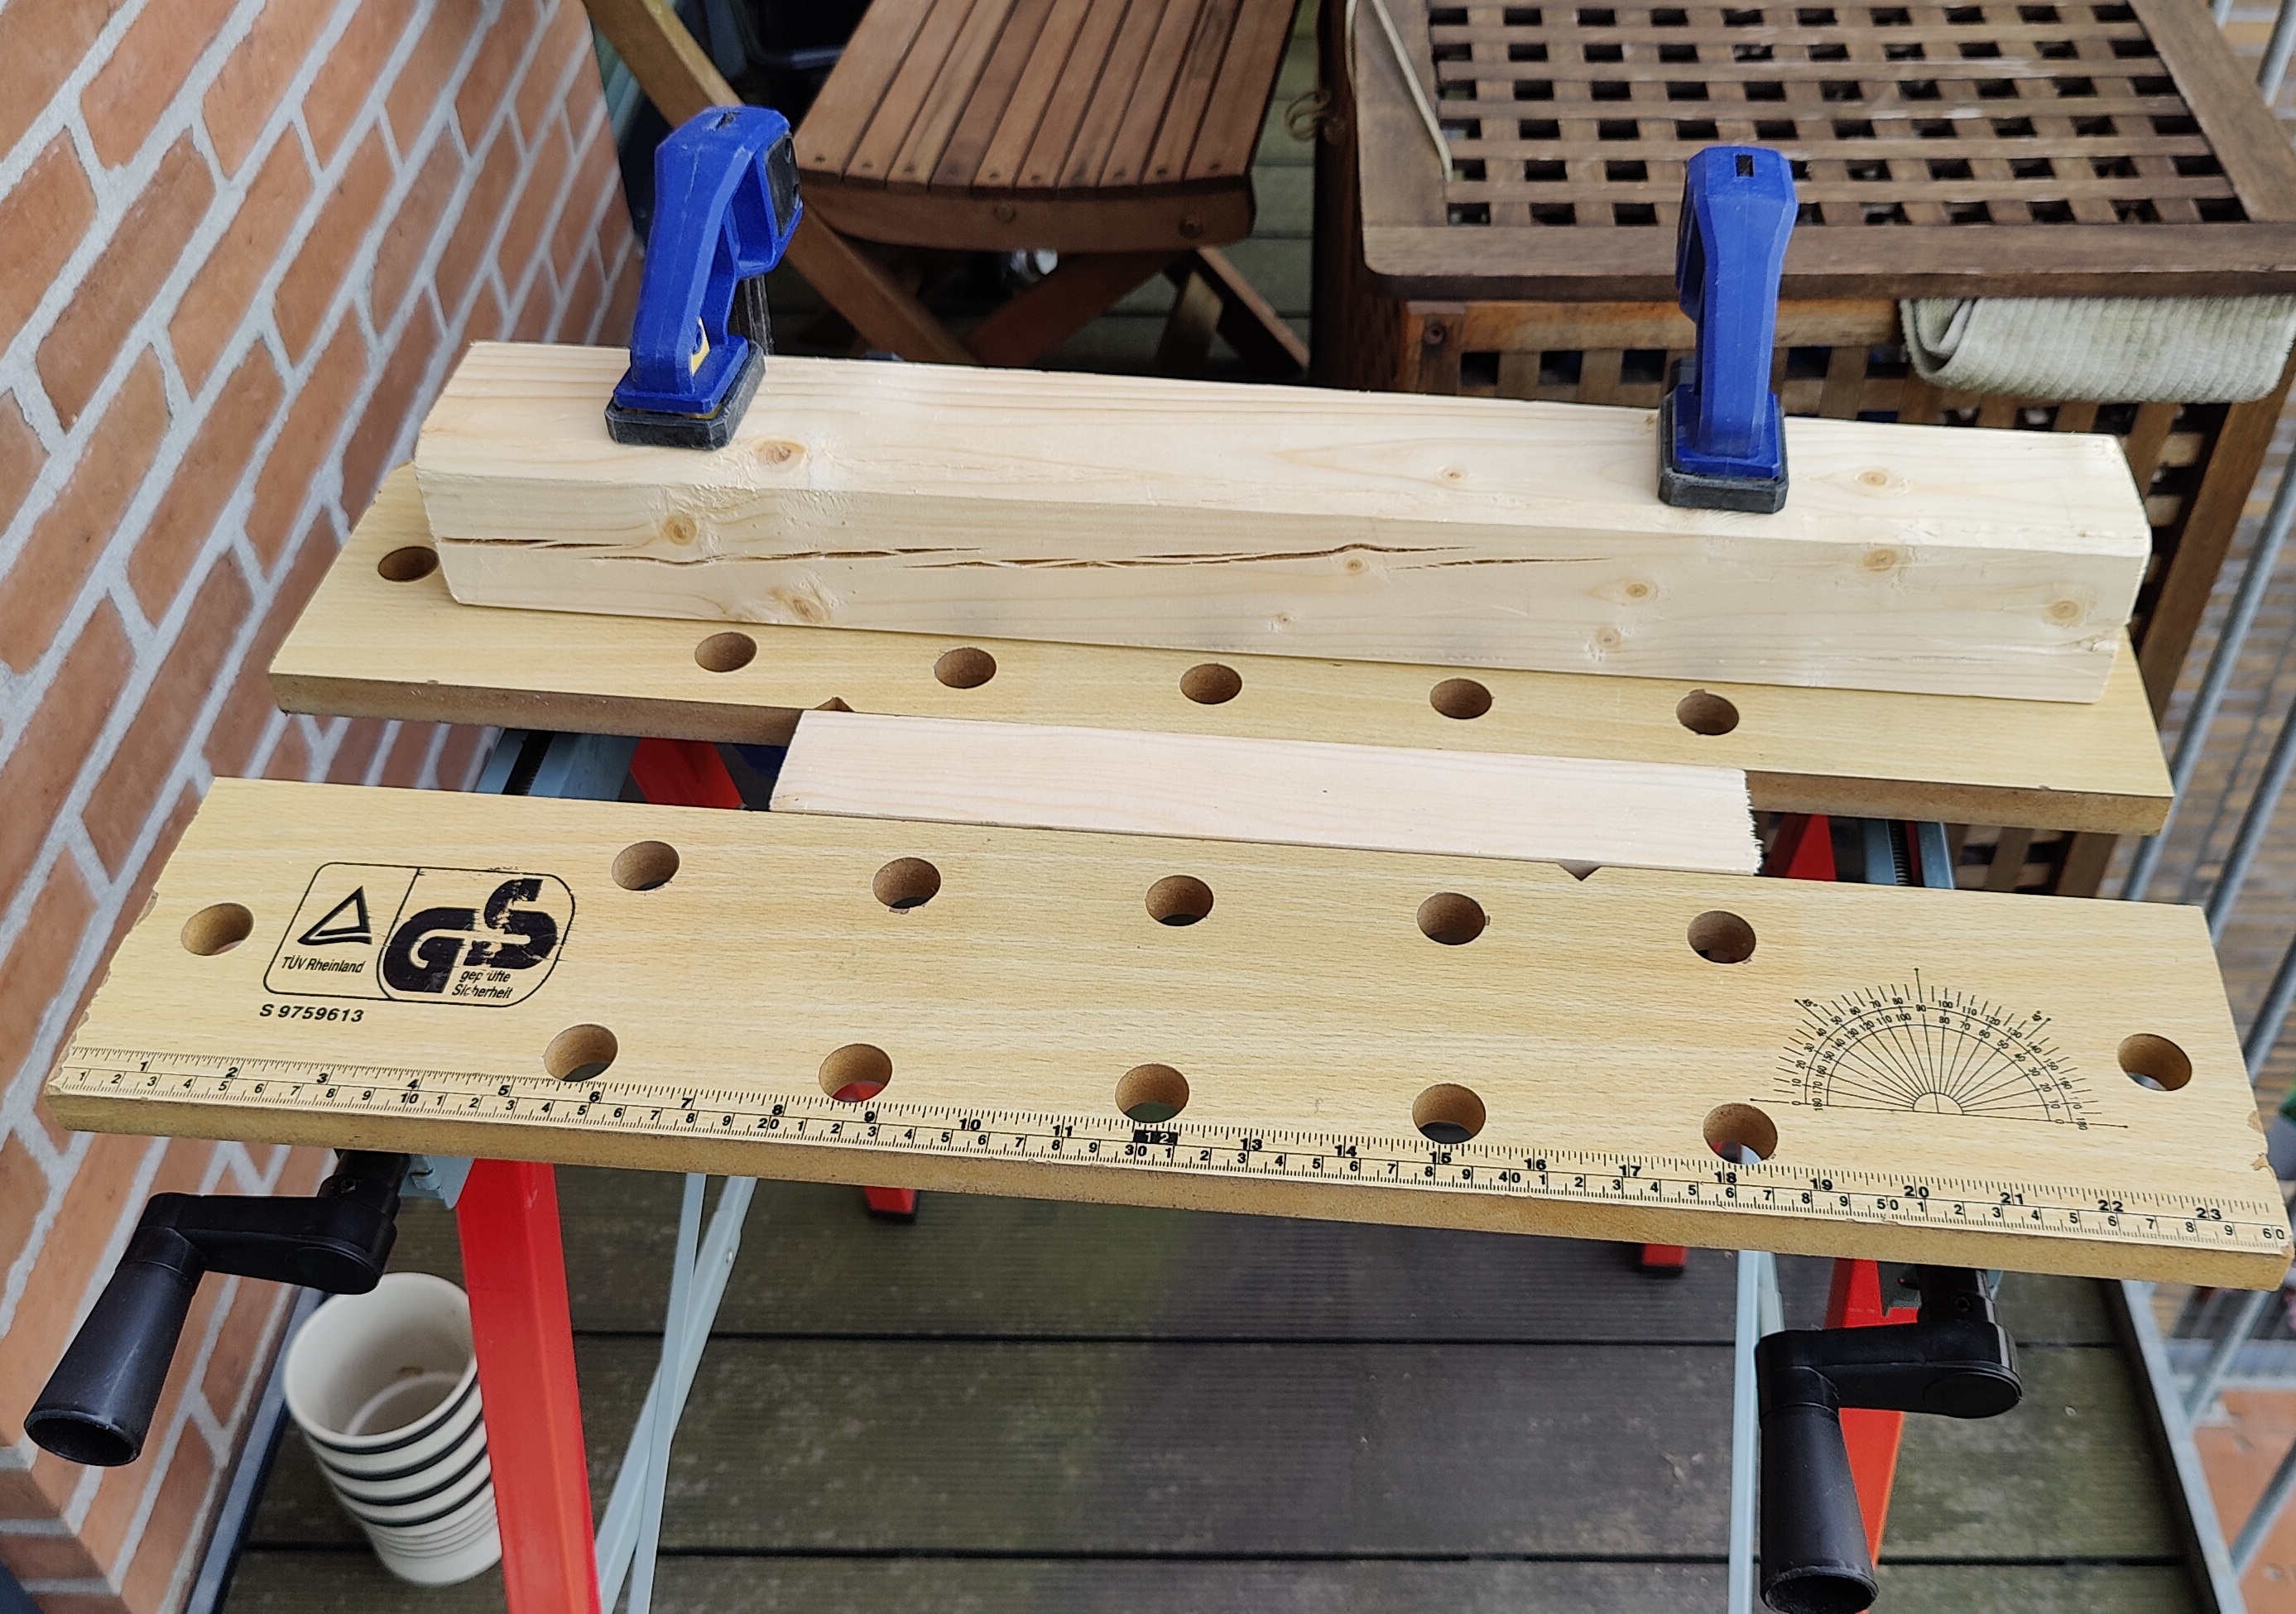
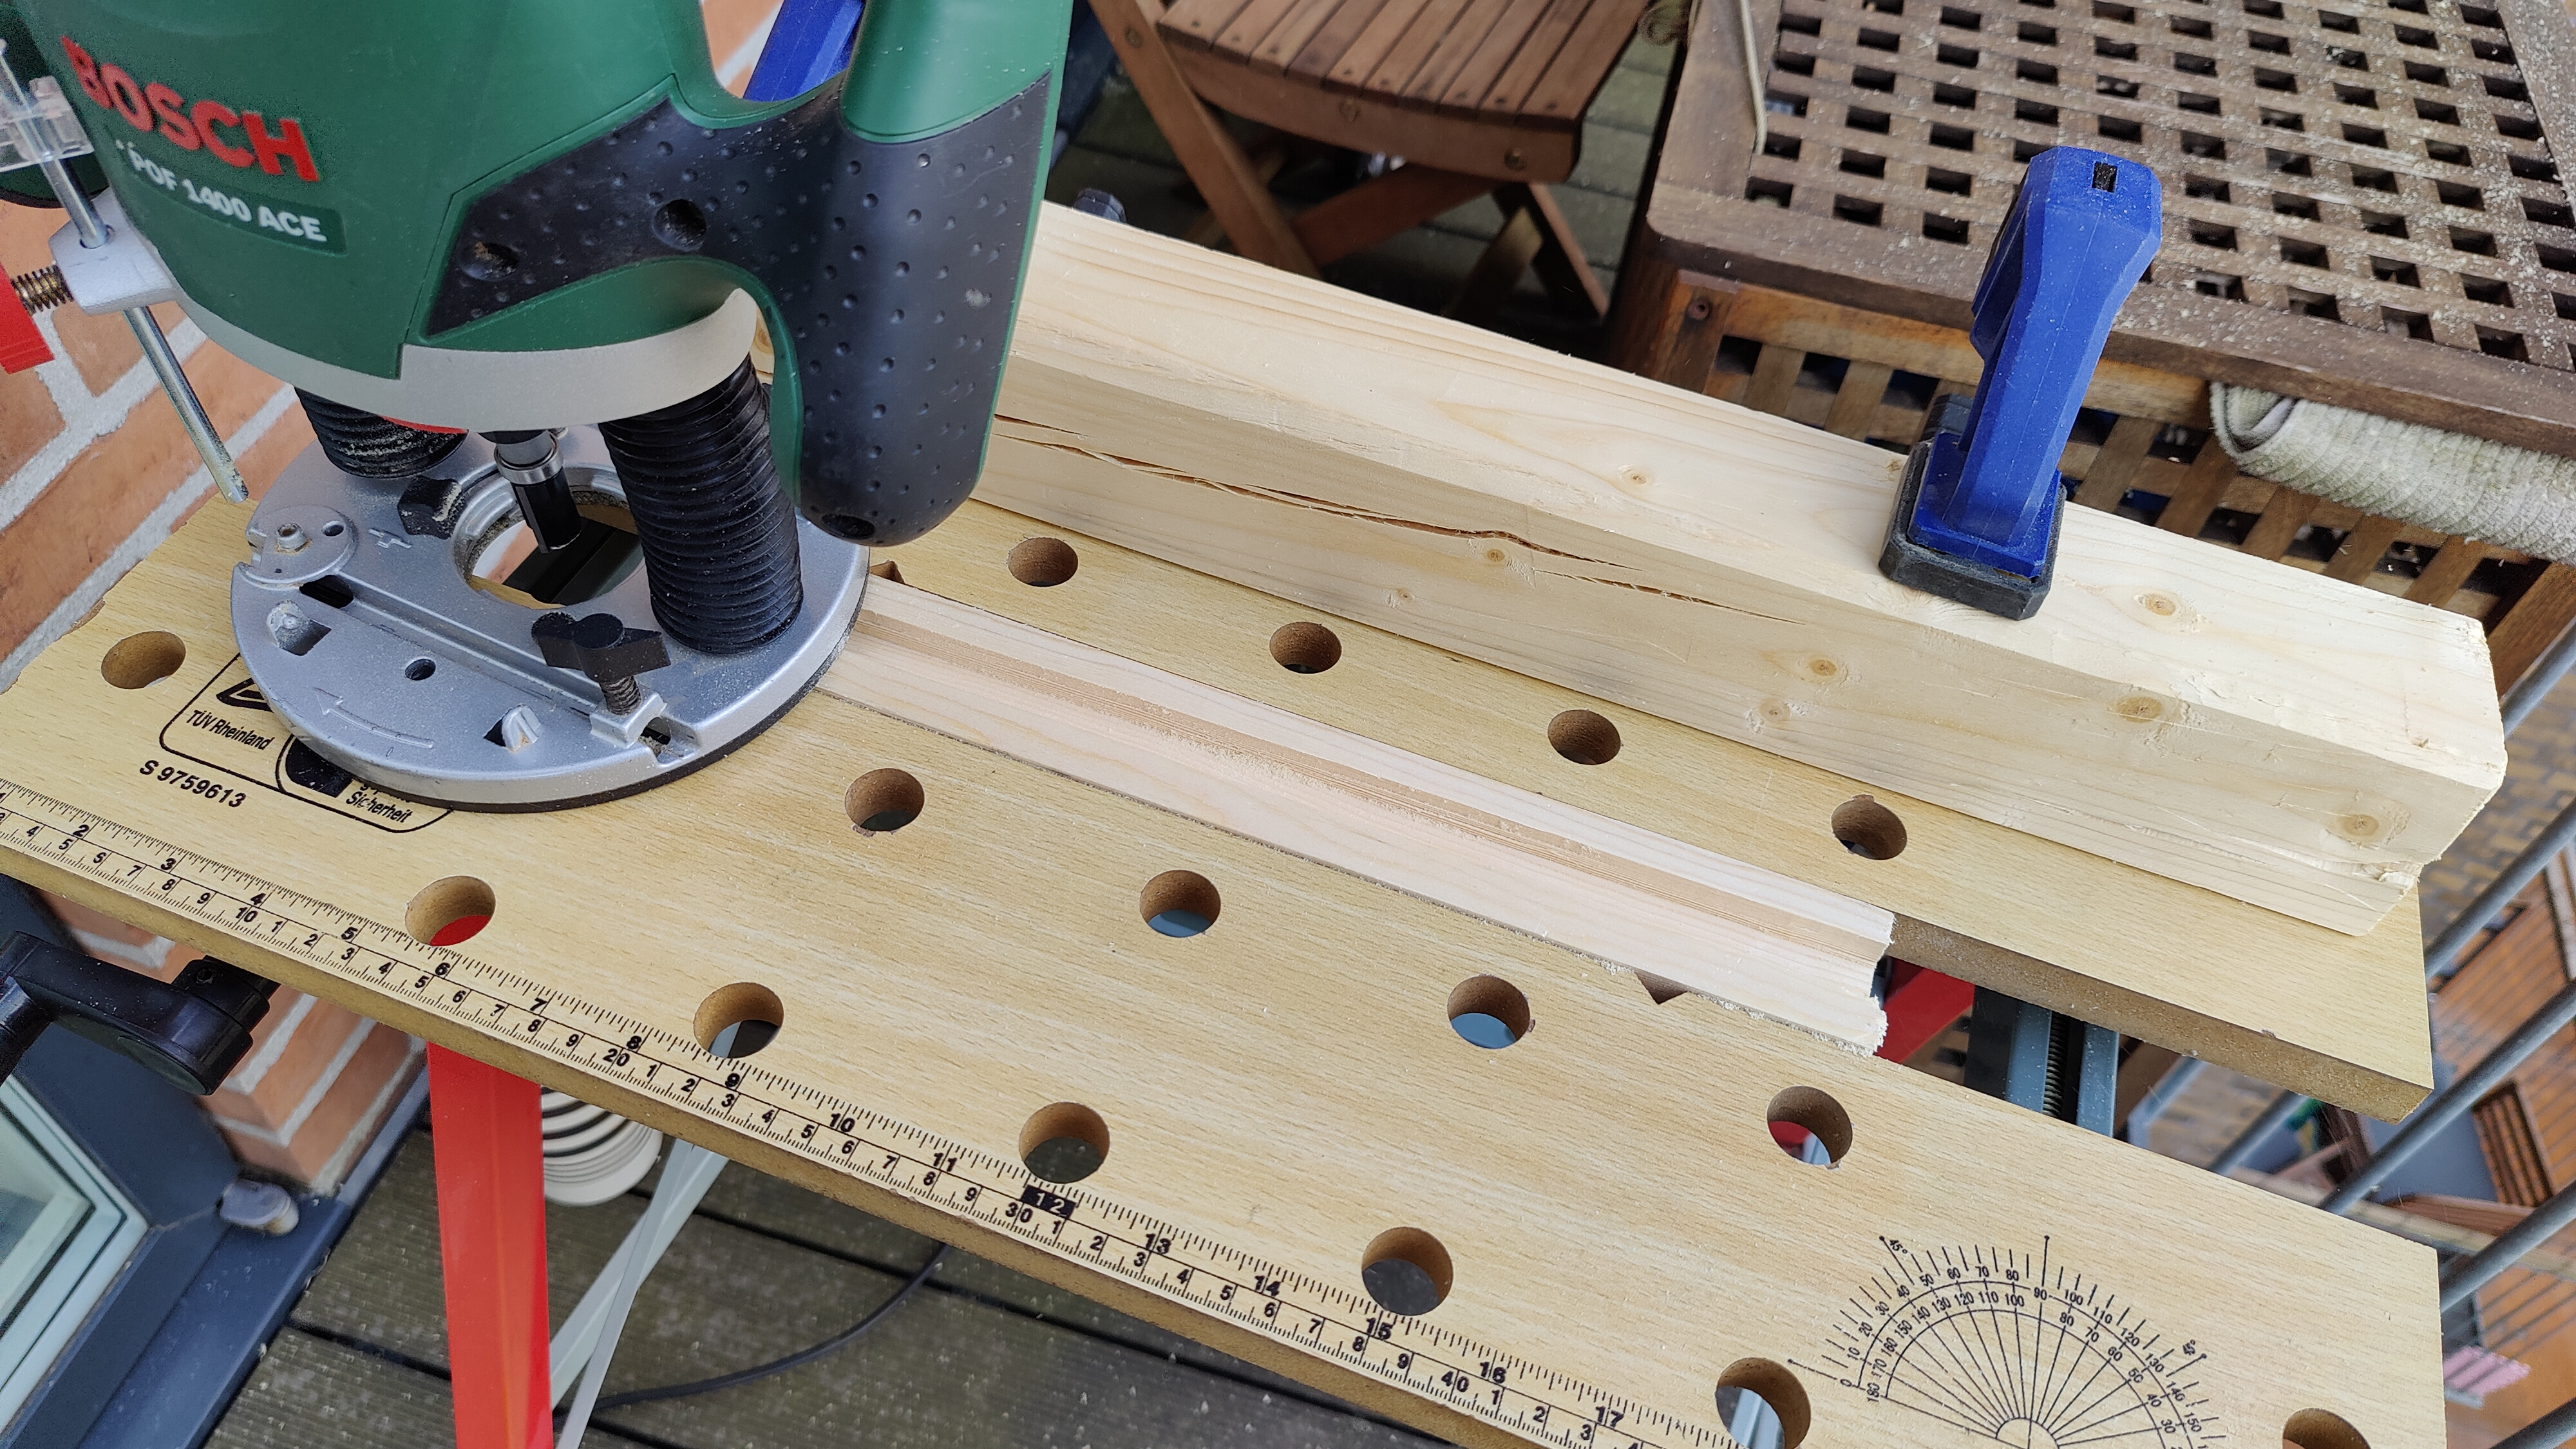
I cut the groove over a few passes, to not take away too much wood at a time. After having made the groove, I wanted to try a roundover bit. I had some difficulty adjusting it for the precise depth it needed to not make an edge. So after using the roundover bit, I gave the test-piece edge a little trim with the planer.
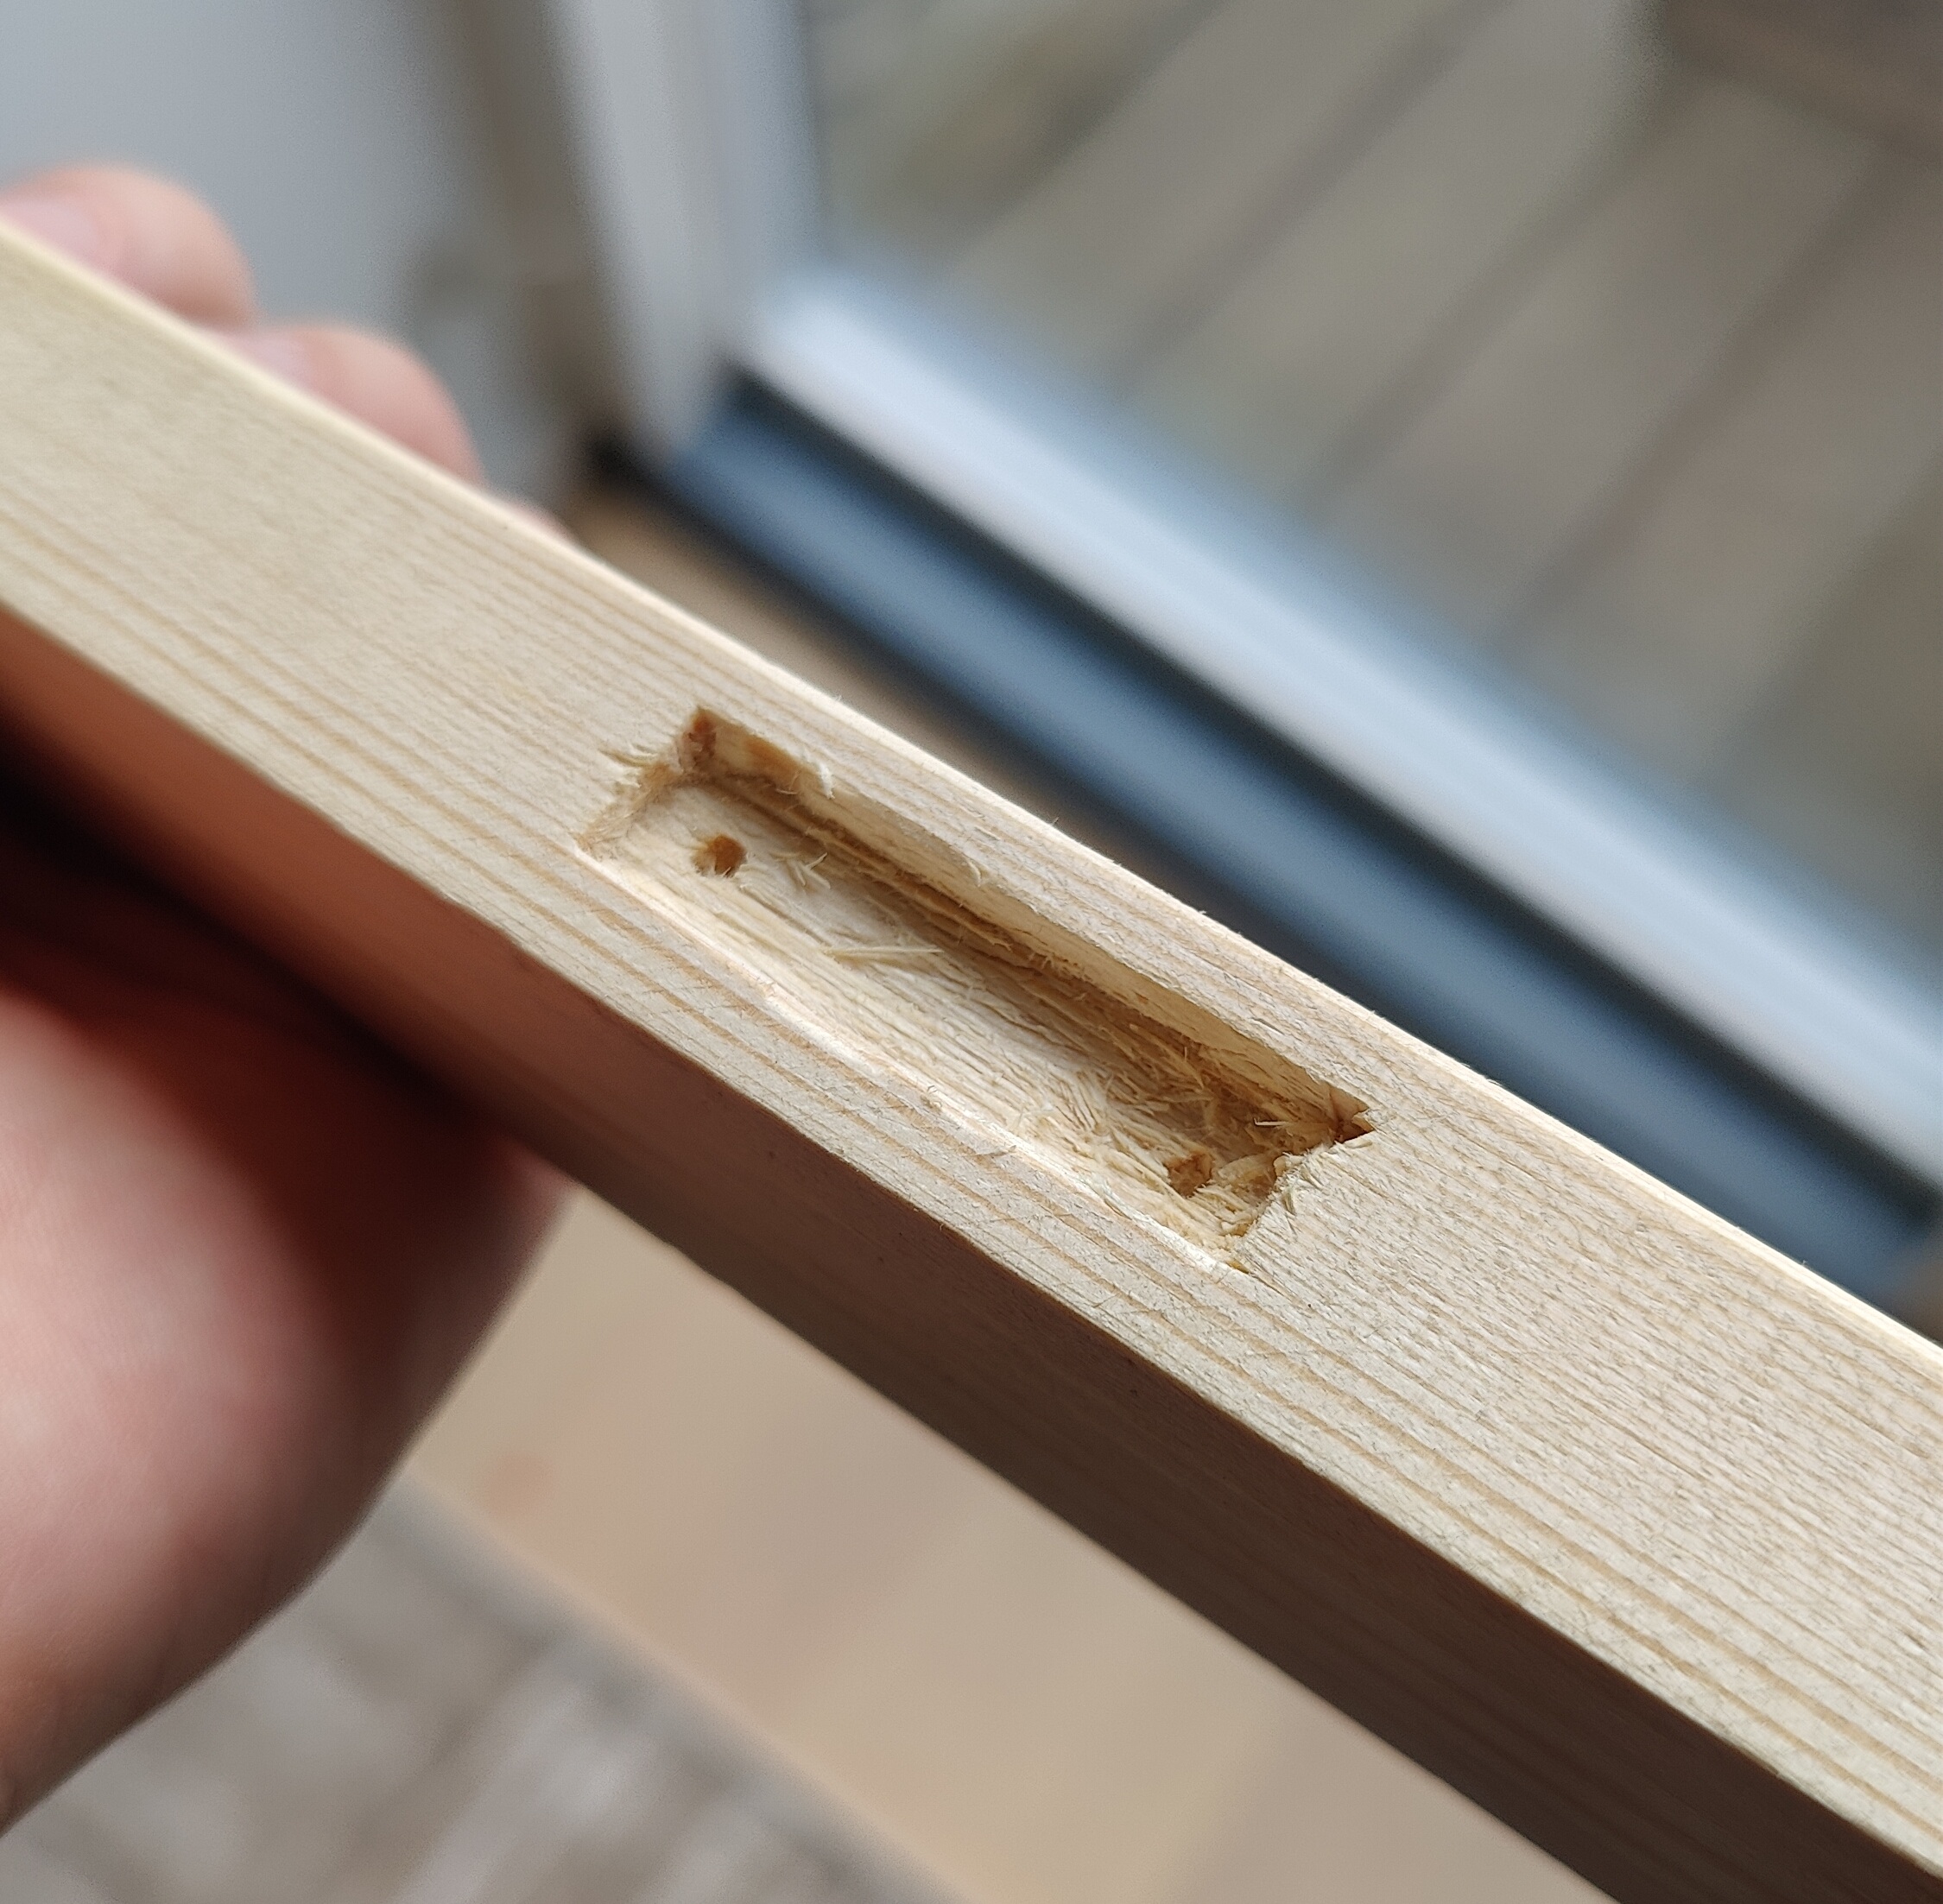
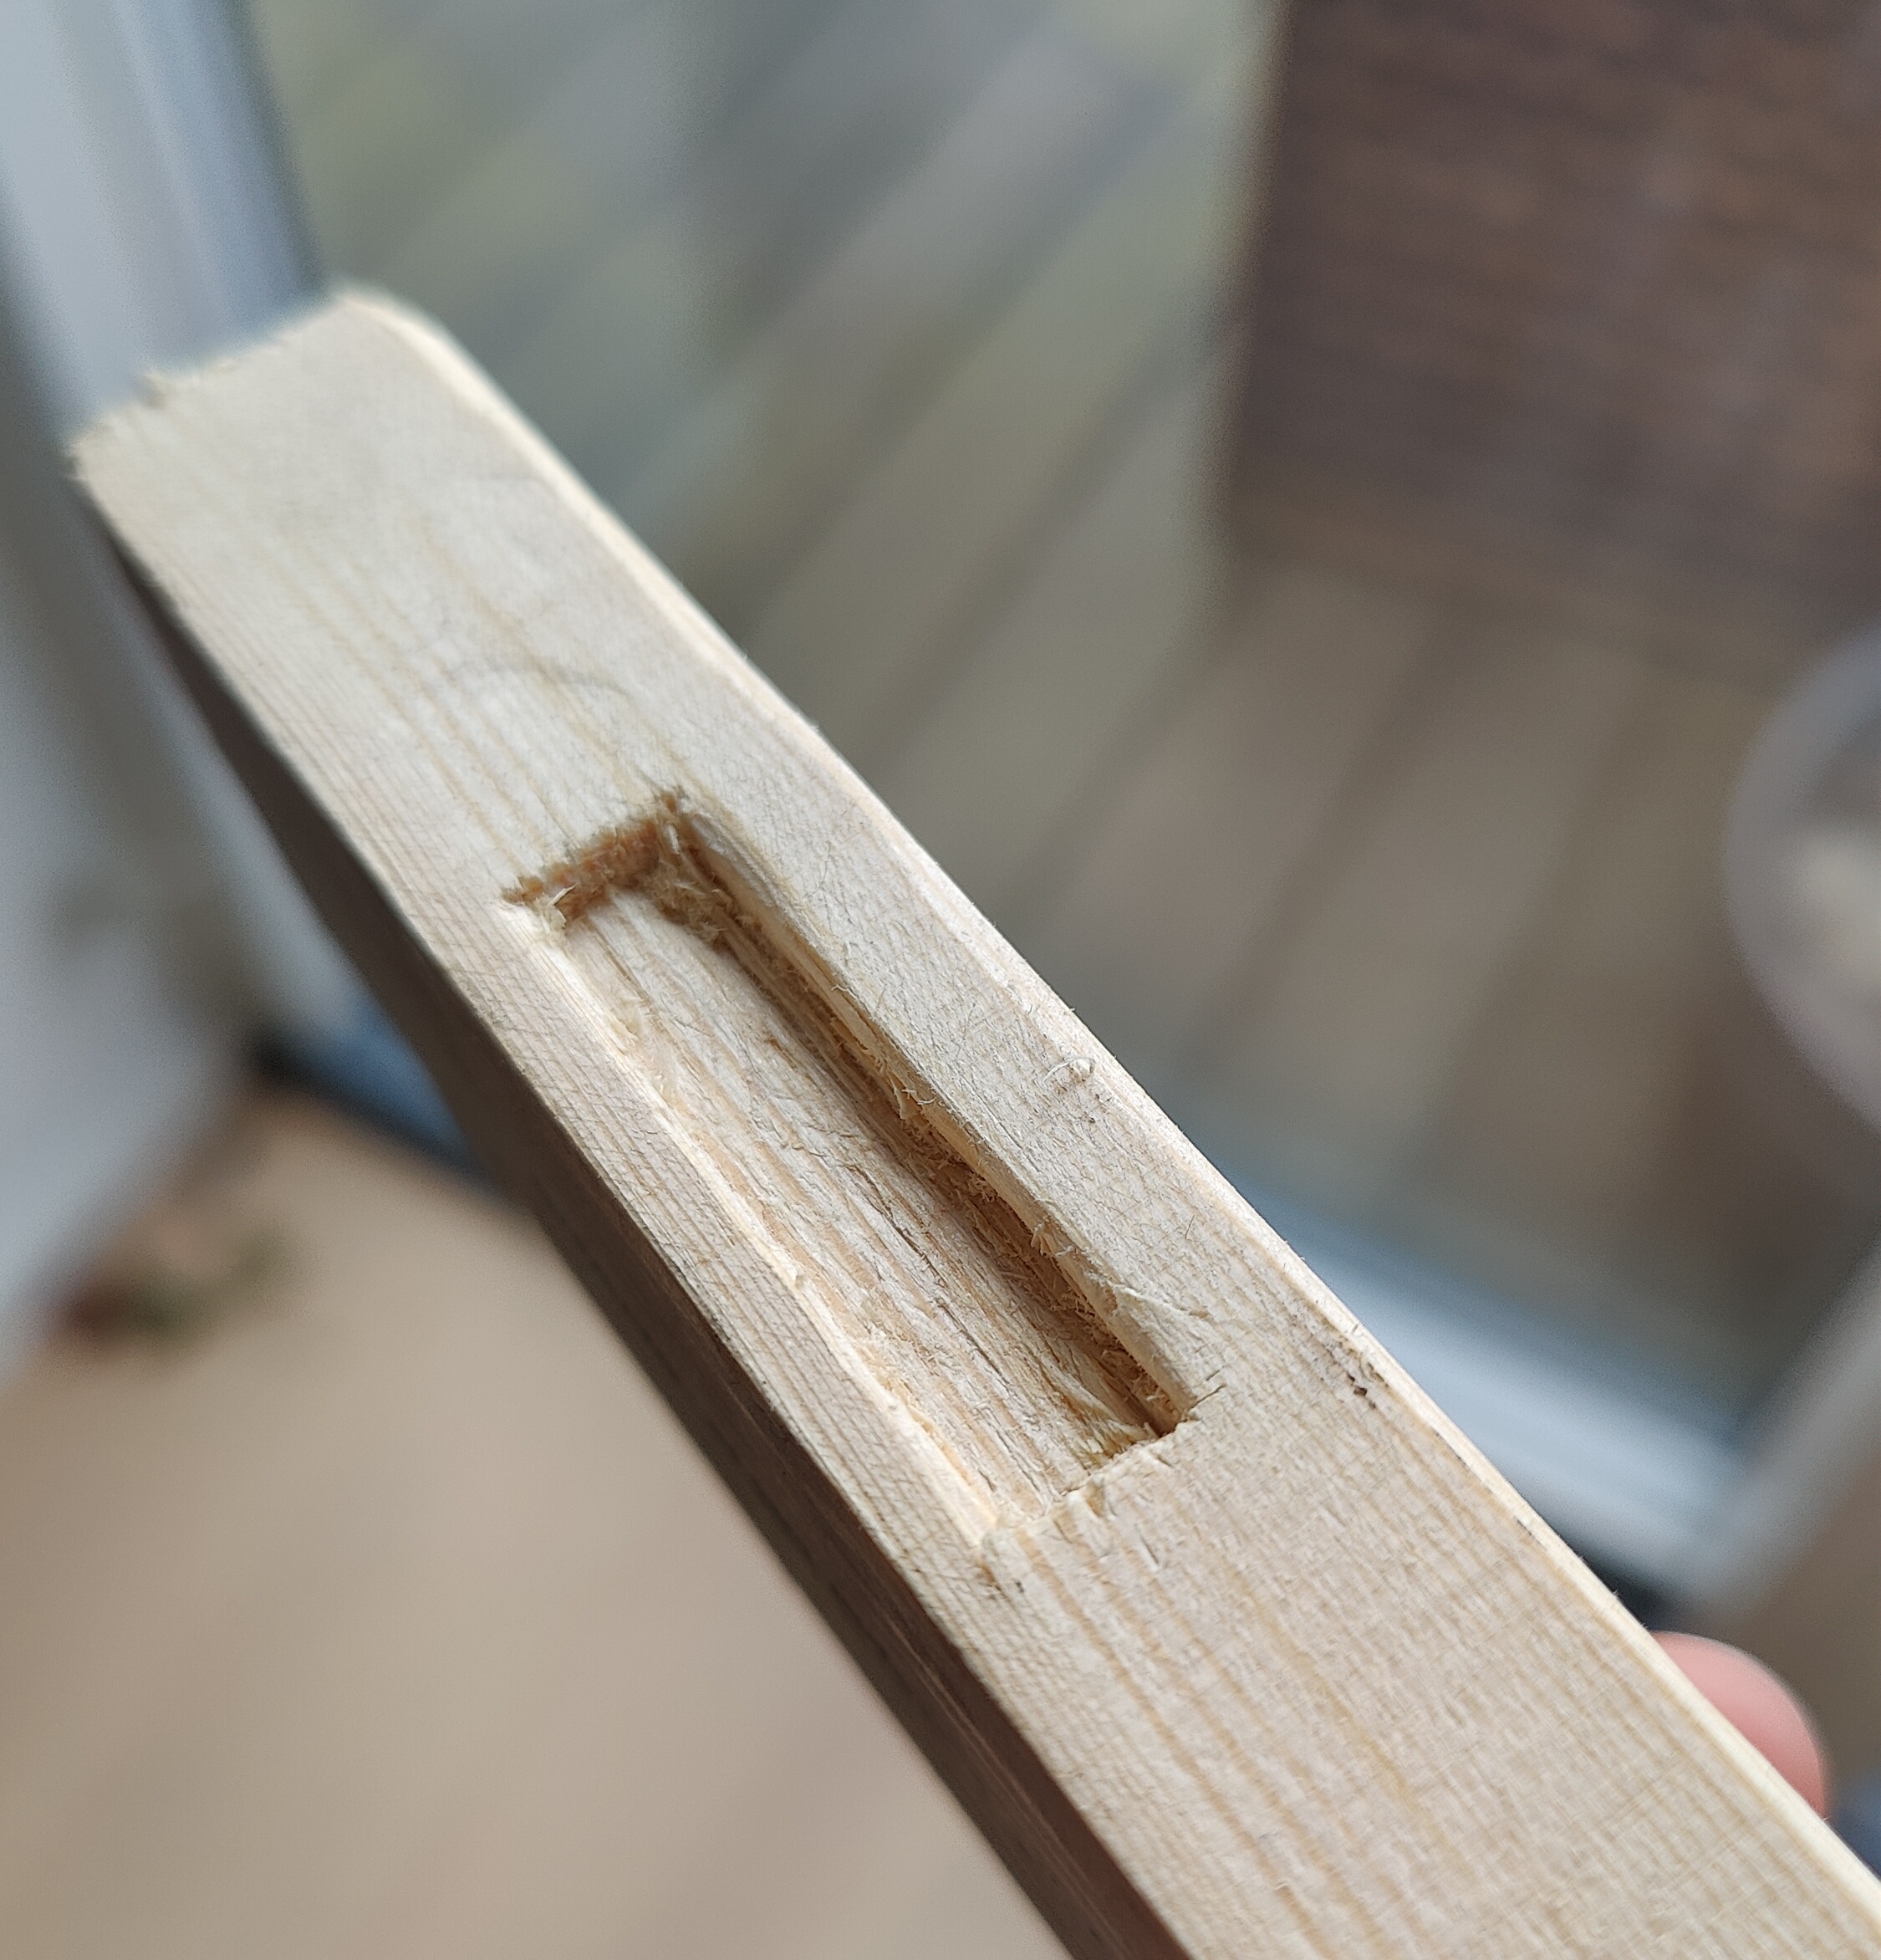
Testing and improving my chiseling game
As I’ve also never had to chisel before, I wanted to do a little chisel skill test. Im sure it will be way harder in walnut. But still practicing the technique is probably a good idea. For the first test, I used a drill in each end. In the second test I wanted to see if i could create a cleaner hole by only using the 10mm chisel.
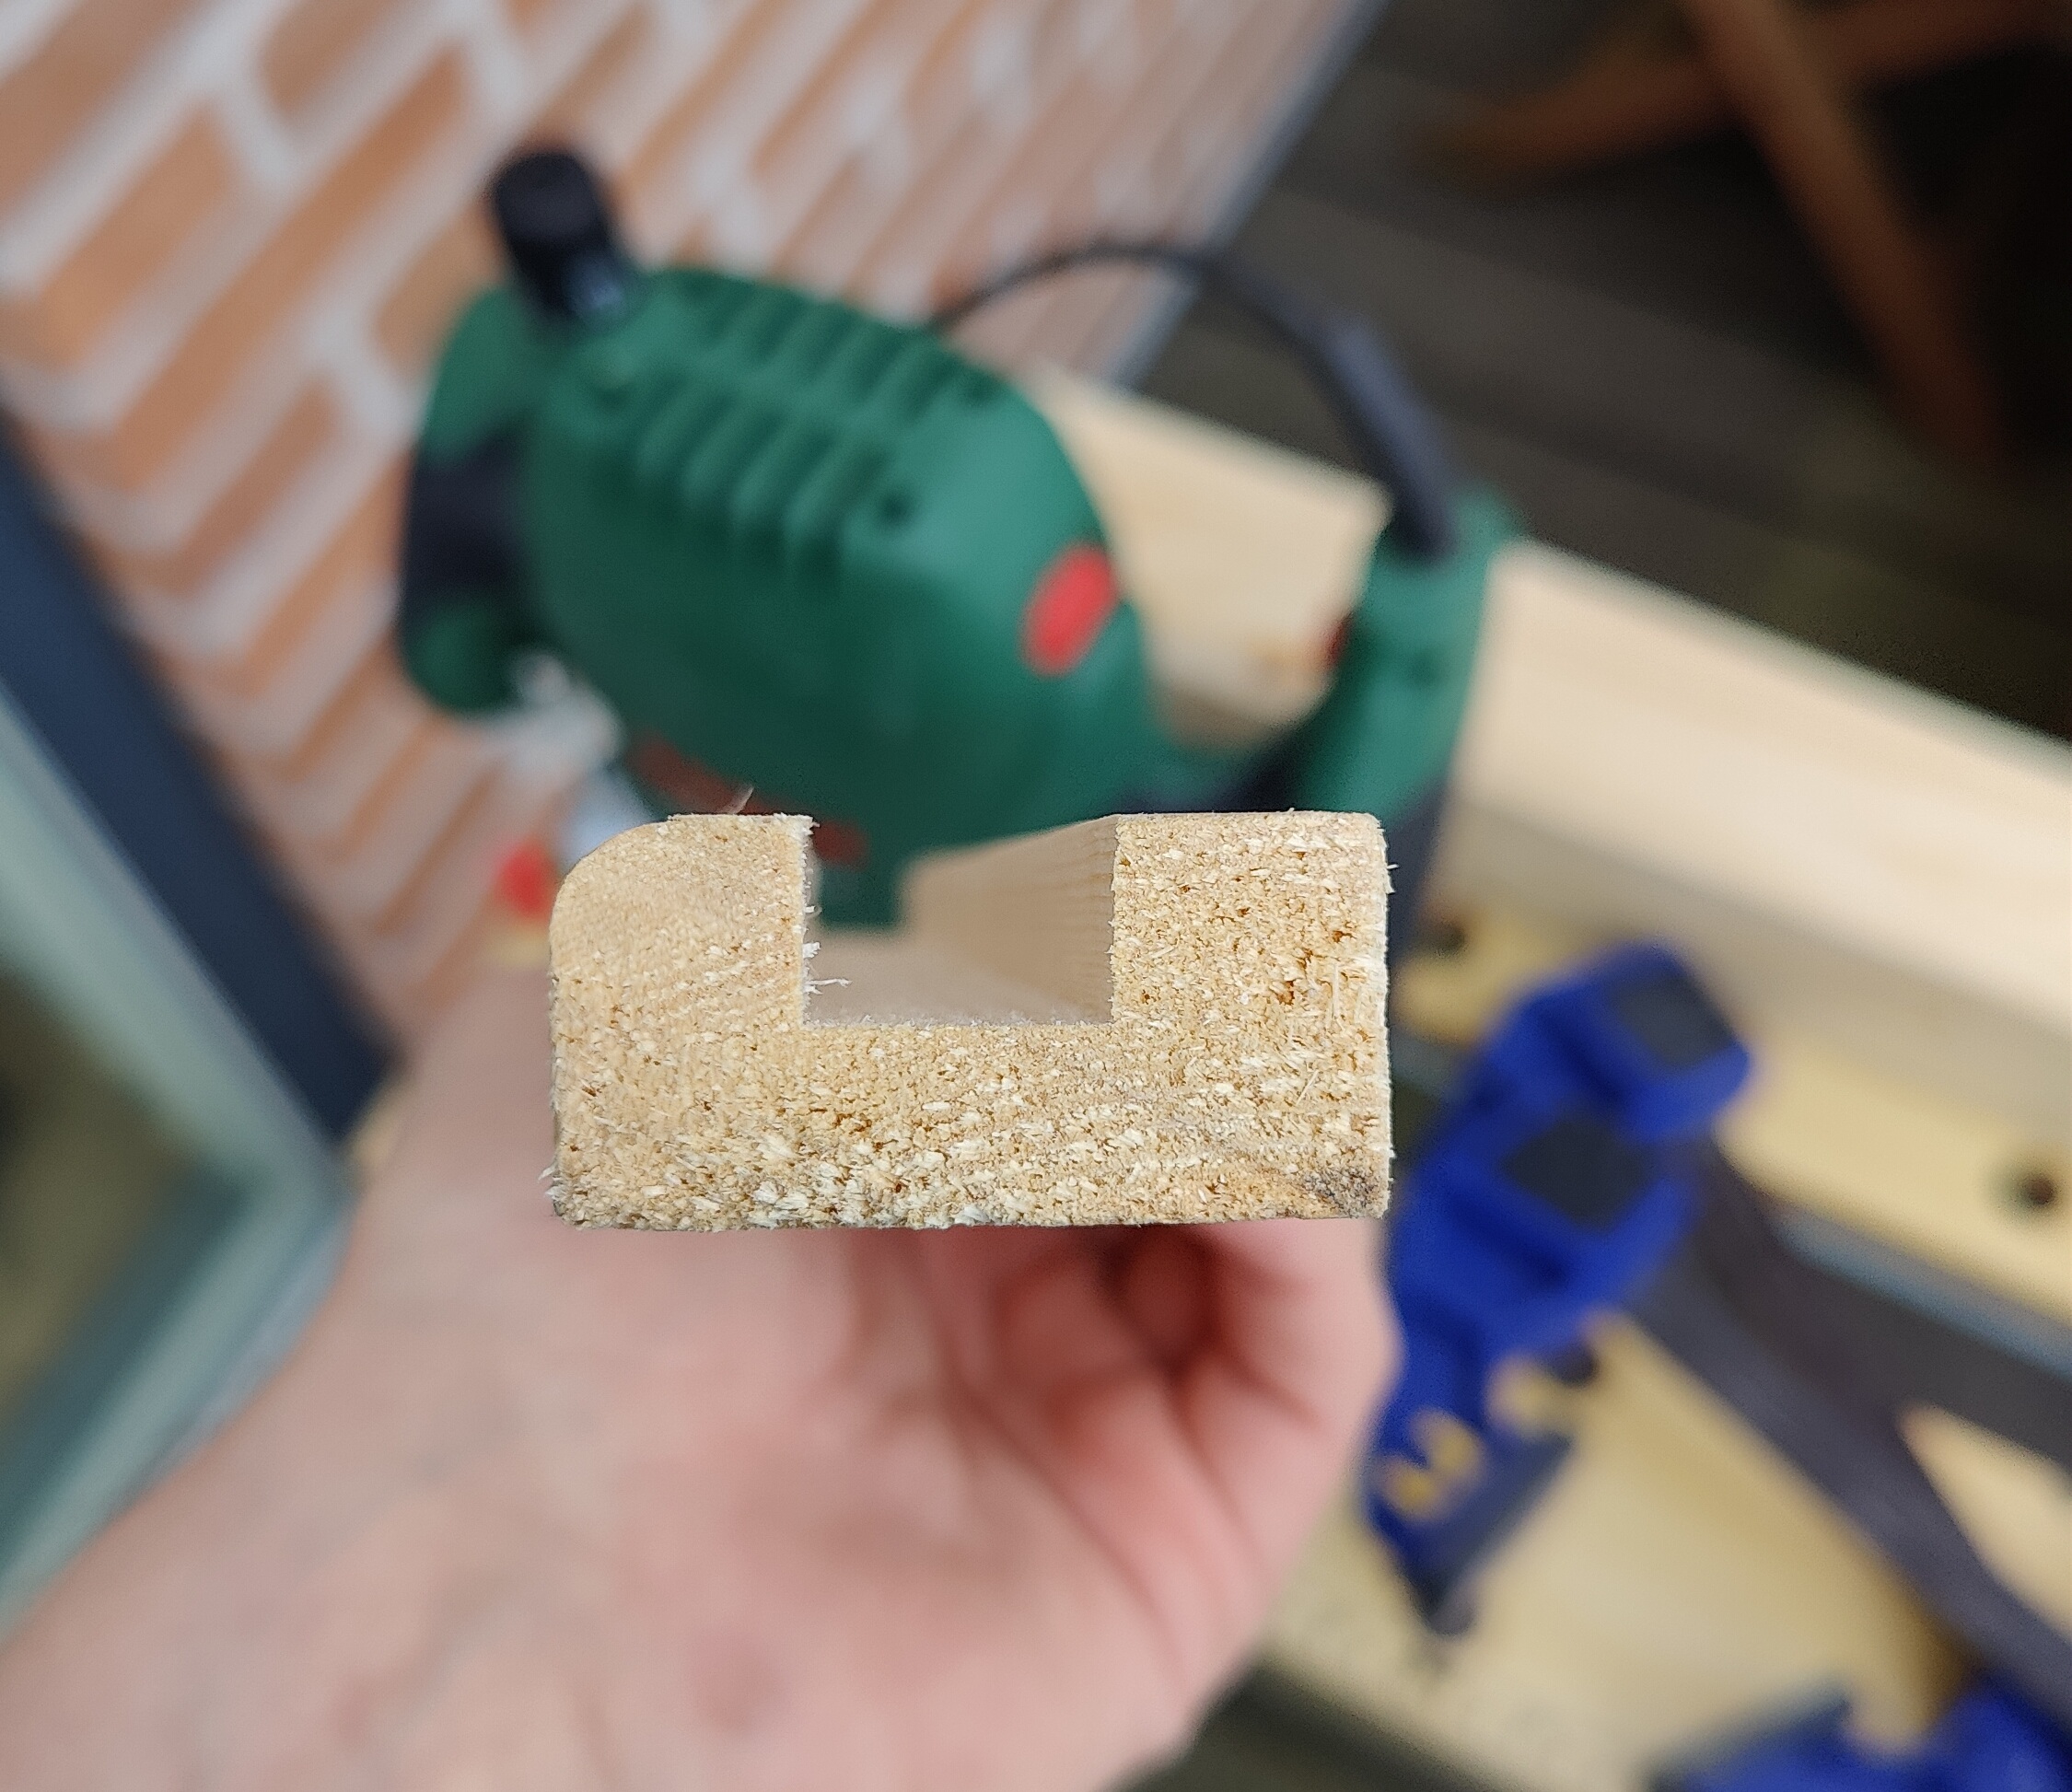
UAT
User acceptance testing! Having done the test-piece, I could hand my wife the test piece. And she did seem somewhat impressed. Through the test piece I got some hands-on experience with my tools, as well as a good idea of groove size (which is too big in the test piece). In the test I also broke the edges - a term for removing sharp sides of wood - so that it would not split as easily. That really made it feel more finished.
Speaking of finishing. Im still not sure what kind of finish I need to put on the shelf. On one hand, it is just a shelf, and won’t see the same hard use as a table, but on the other hand, the action it it will see is gonna be often and in the same spot. Maybe a wax finish is good? Maybe just oil? Maybe nothing?
Starting the “actual” shelf
Now my actual work on the shelf could start. I felt like I had tested what I could. I was now just waiting for the floating shelf mounts to arrive in the mail. It only took a few days, and here we are. But as cautious as I am, I have ordered two pieces of walnut wood. That ensures that I can burn the first pancake. So I am starting with the ugliest piece of wood.
 Starting with the walnut
Learnings
- I did not have all the tools I needed (a lesson for every project).
- I thought that I had a 12mm wood drill bit. But I only had a drill-bit meant for concrete walls. Not super useful here. So after a little bike trip (again) I was all good 12mm-drill-wise. Lesson: always have a 12mm drill-bit.
- I took a way too deep first pass with the router. I guess that I forgot to account for the hardness of the wood. This made the router jump a bit, which made for a bumpy edge on the groove. Lesson: go slower and finer.
- I attempted to pre-drill the 12mm holes with a 9mm drill. That actually made it way harder to expand later. Lesson: don’t do that.
- When using the round-over and needing to set the depth with a plunge router; plunge down the router until the bits edge rests on the top of your wood. I mean the workpiece.
More untested stuff
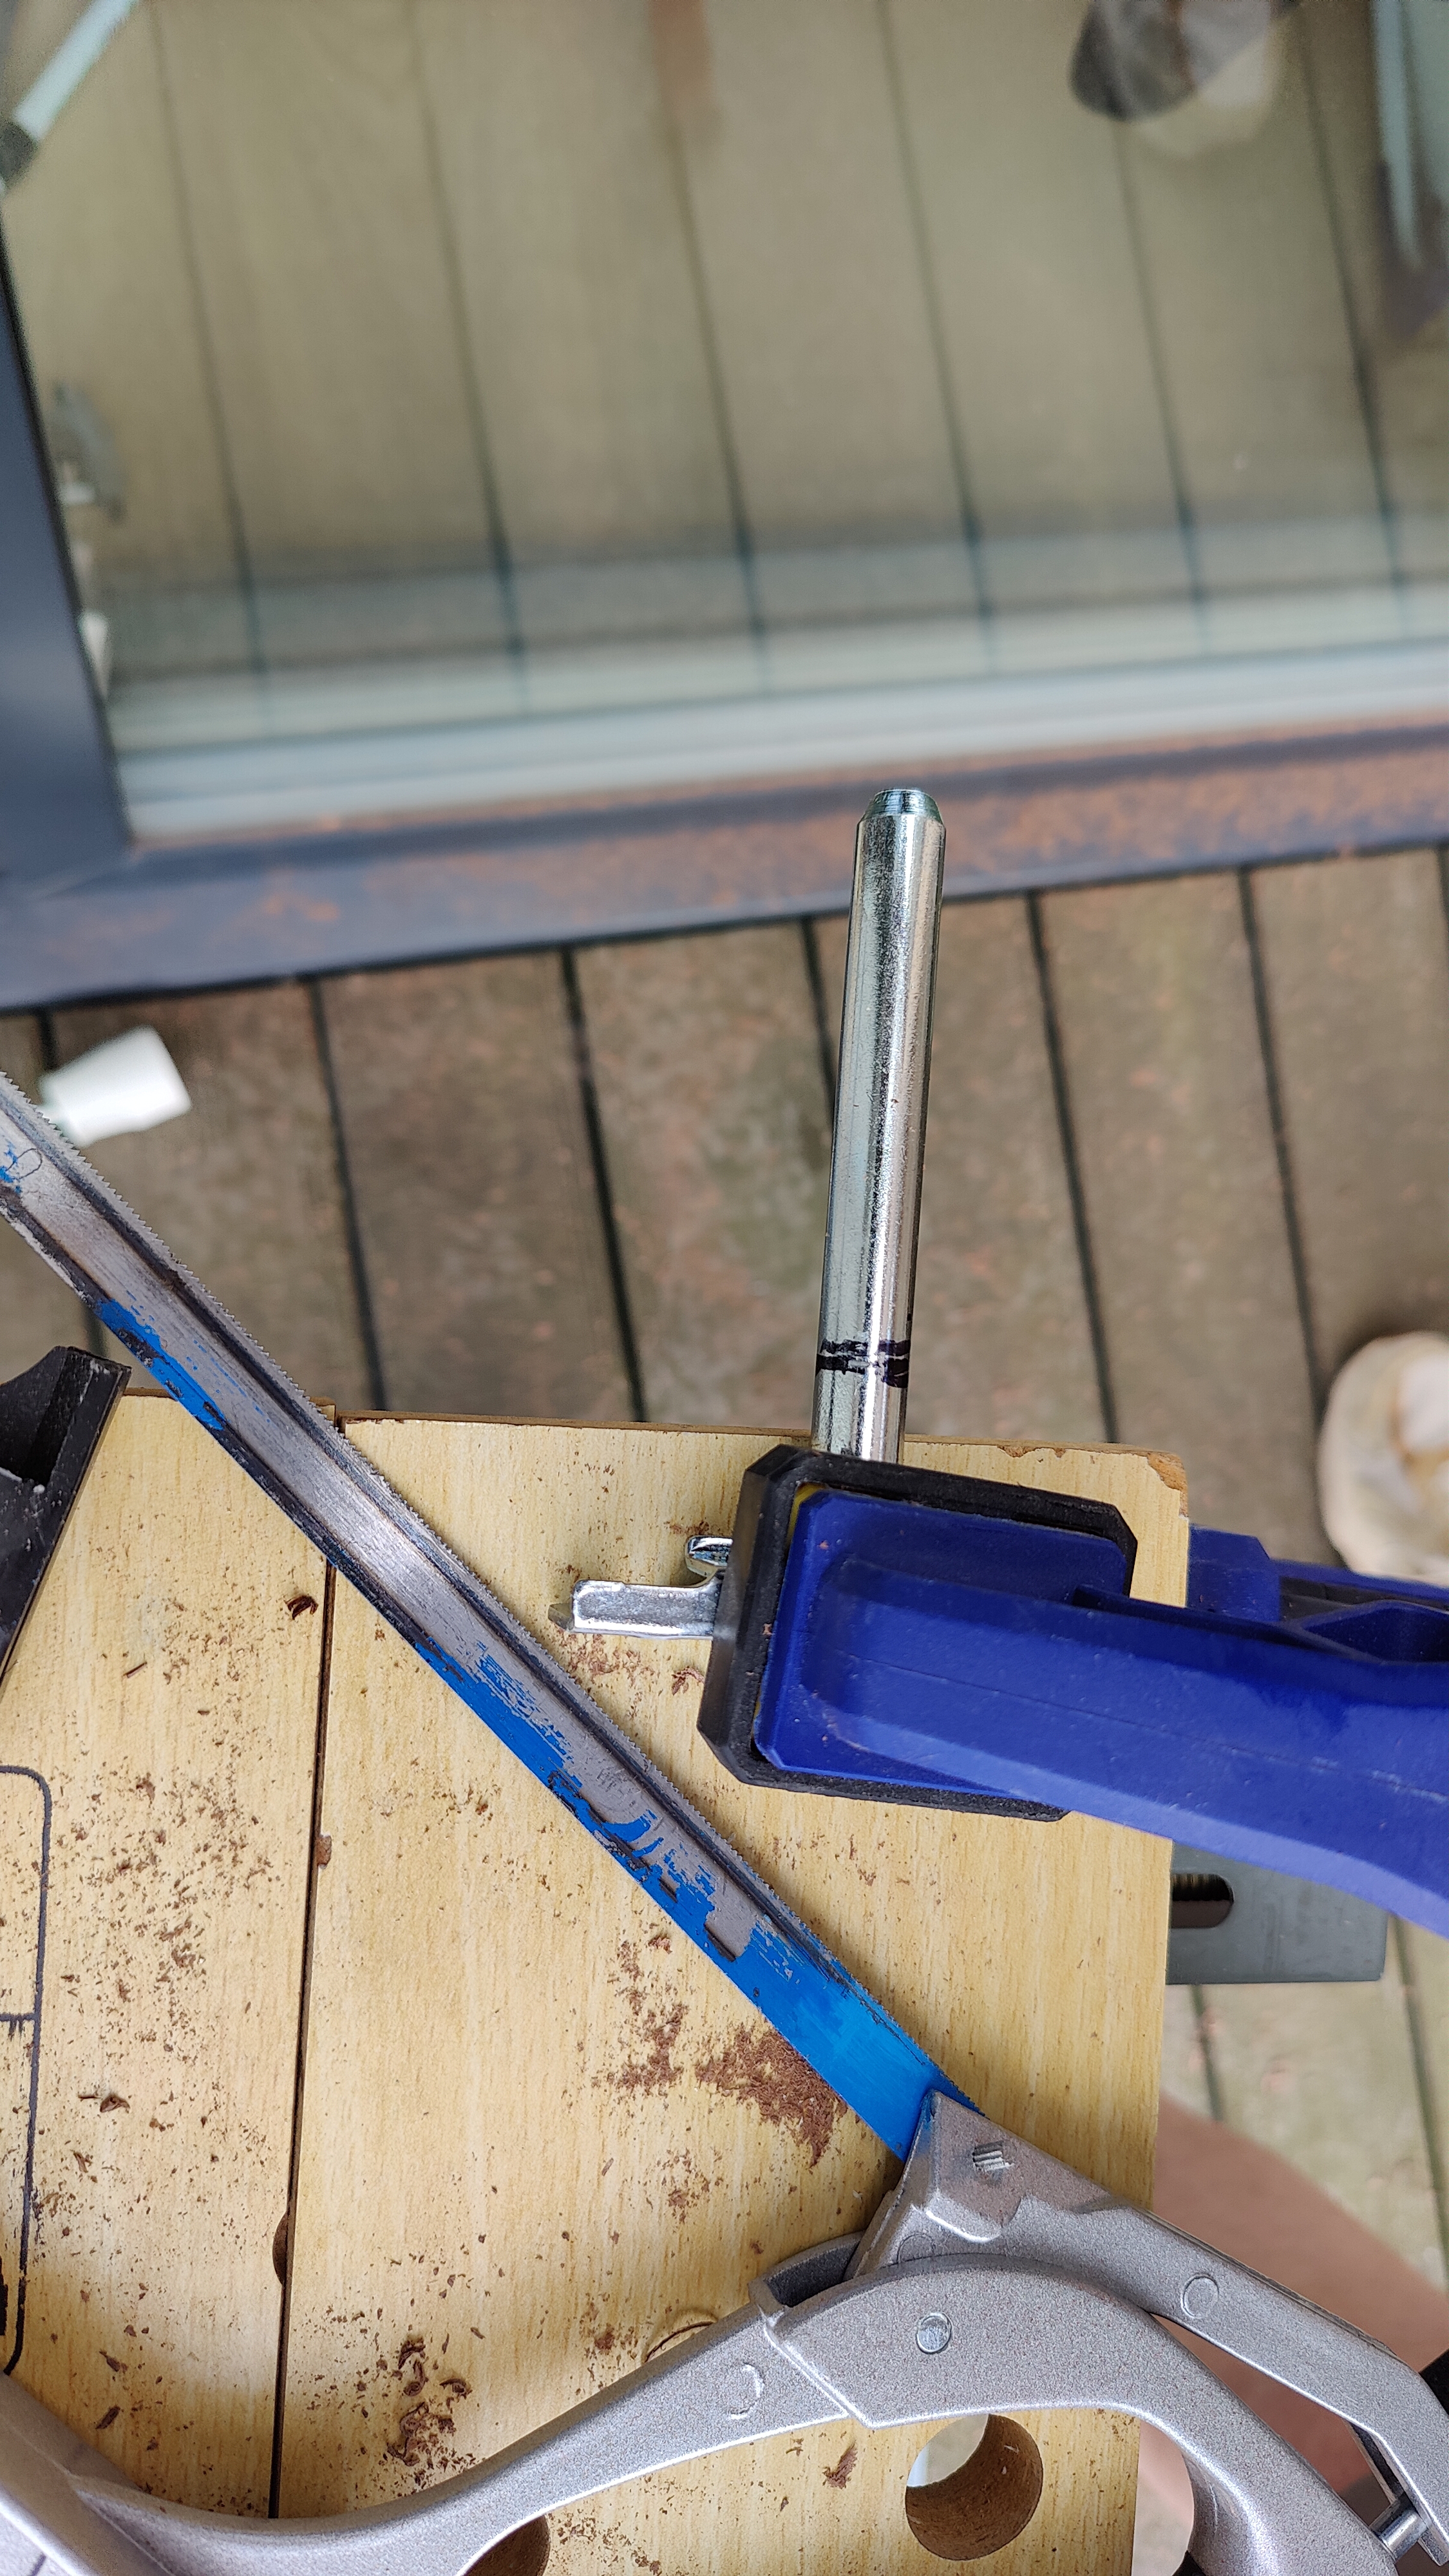
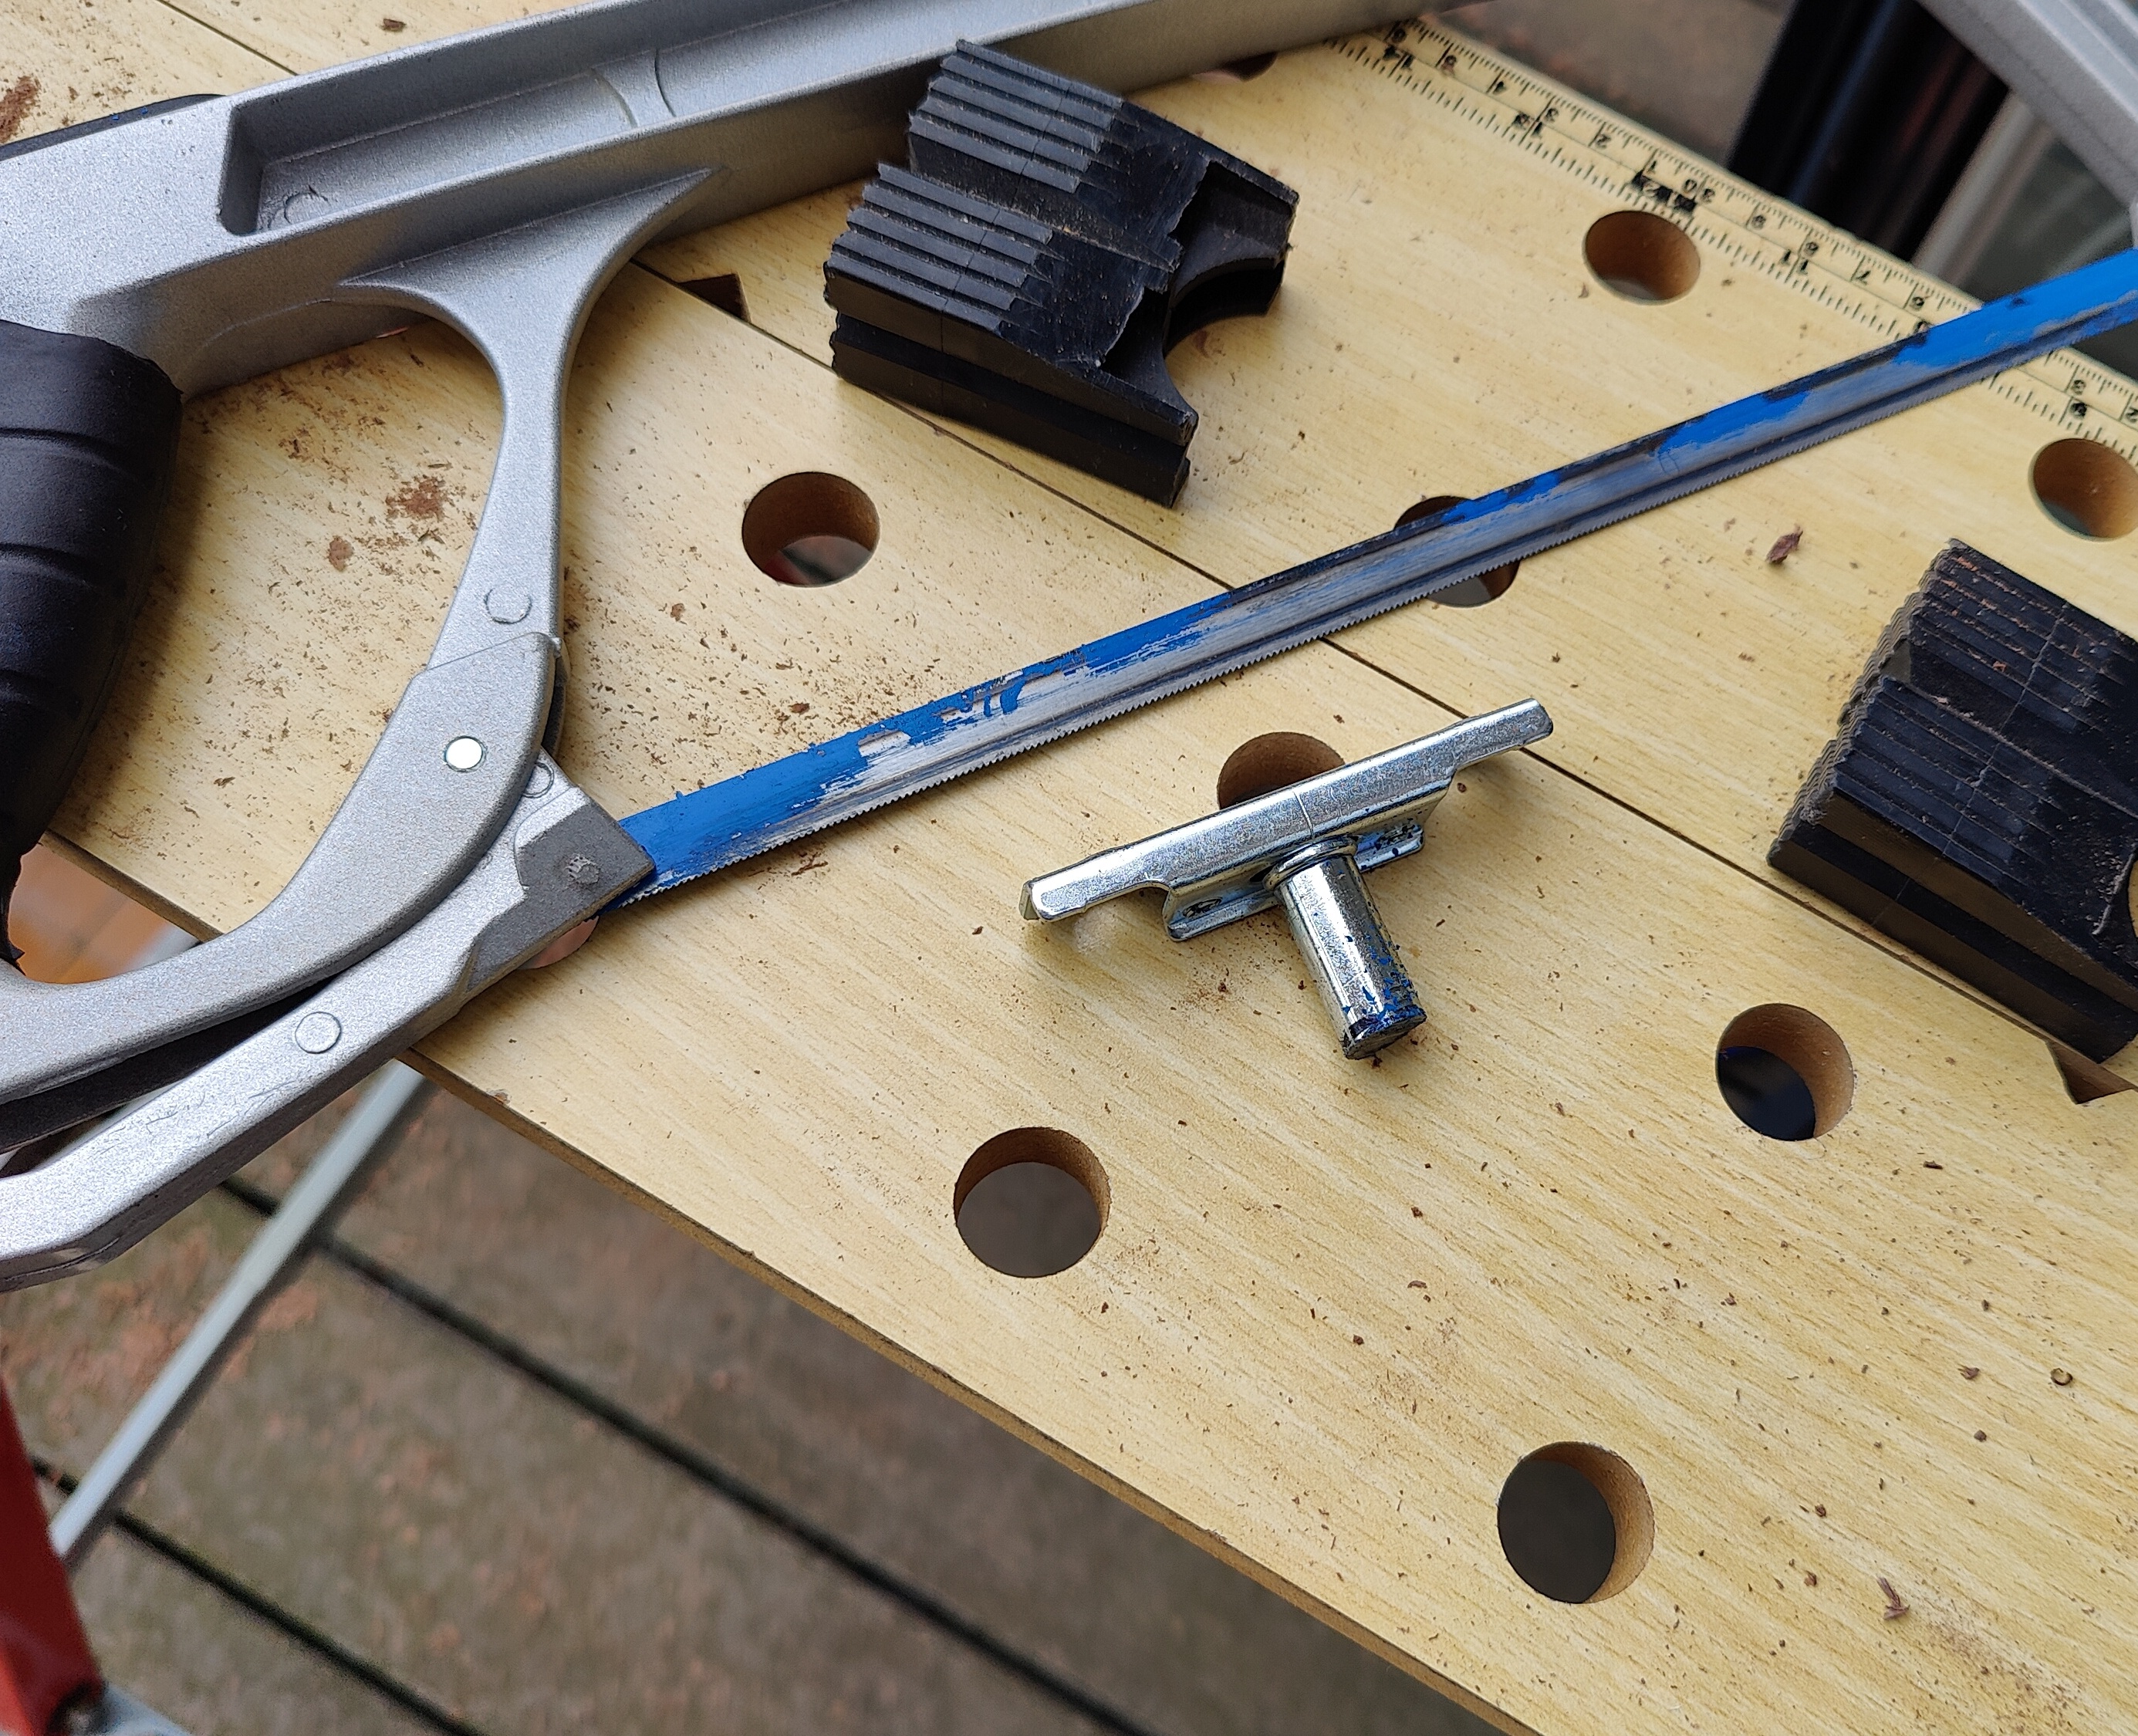
As I have bought invisible shelf mounts that are for relatively deep shelves, I’ve had to cut them shorter. A good workout for the arms. Last time I did this, I had no idea that you had to oil the saw. But this time I had learned from my high-pitch-noise mistakes of the past.
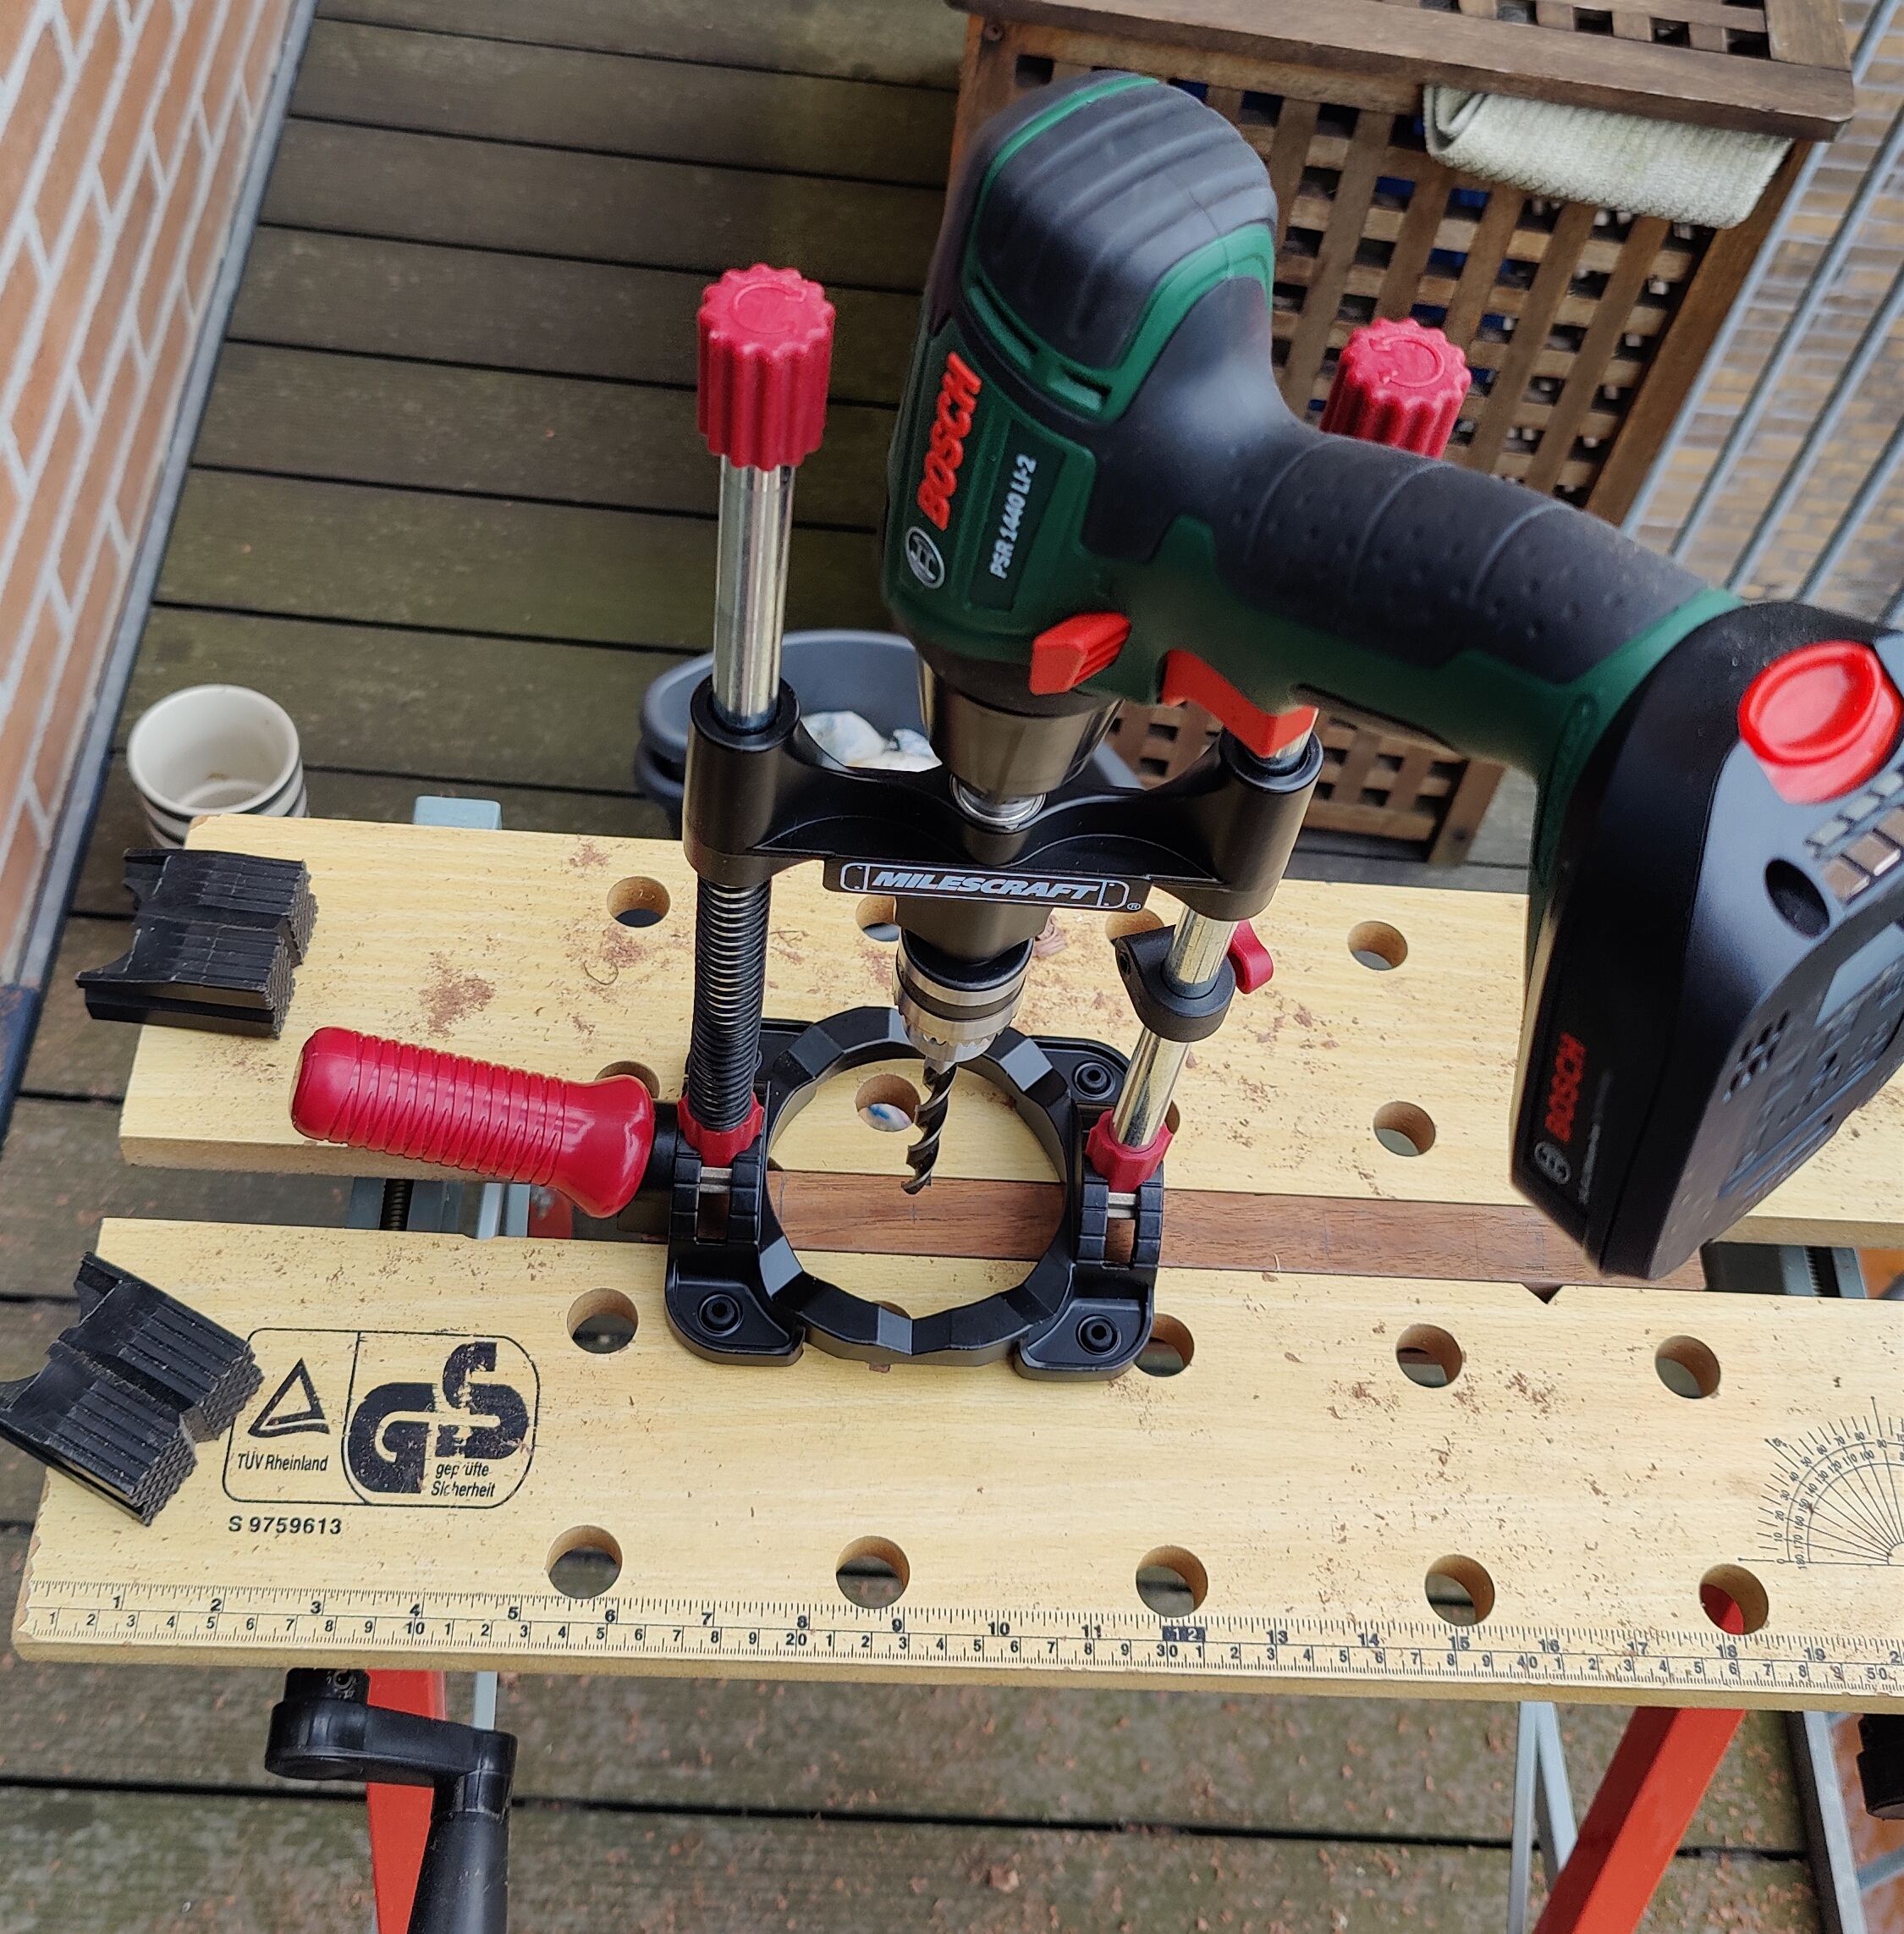
I also took my Milescraft DrillMate™ in use for drilling the holes for the mount bars. It is not super mega stable, but it gives a way better result than I could au natural. Im actually really impressed, but also not sponsored.
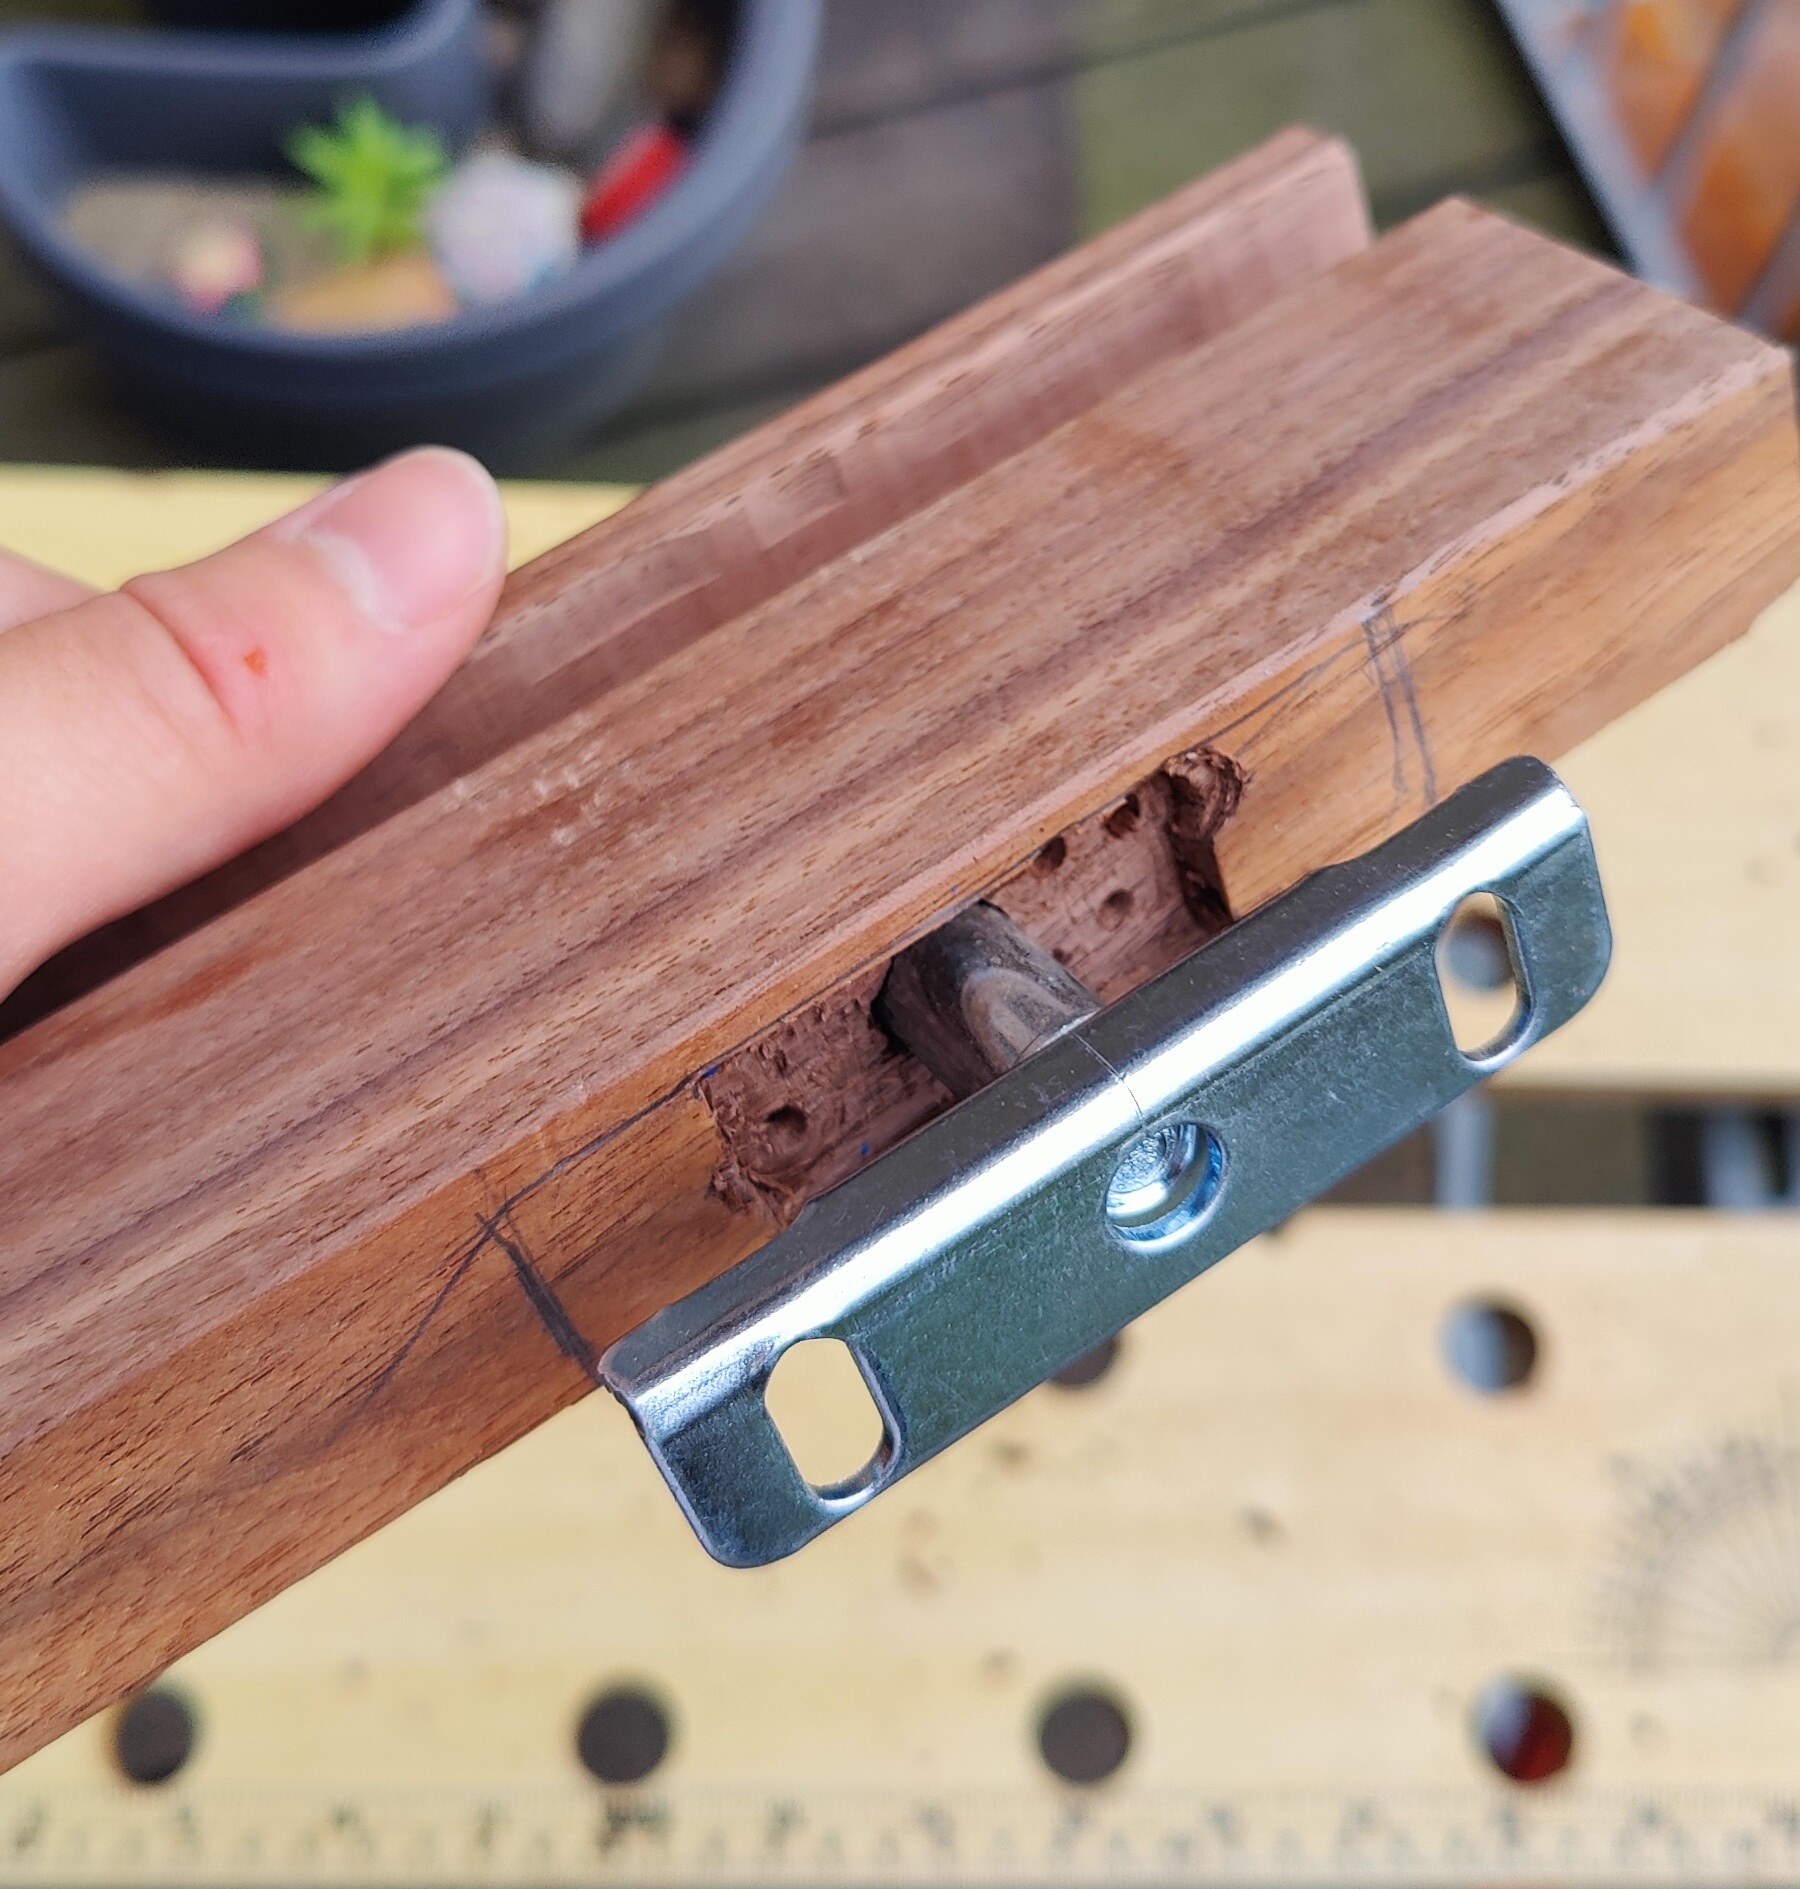
Fitting the mounts
This is the most time consuming (for now). I have to make the positive imprint of the entire mount. I’ve been drilling some of it, to get a sense of the needed depth. But chiseling out all the material for the hardwood is particularly hard. For next time, I’ll pre-drill more, as it takes a lot of work to remove that much with just a chisel. That being said, having a router plane would hit hard. Called nothøvl in Danish for anyone interested.
Installation
After some weeks of contemplation, full weekends and more, I’ve finally managed to put up the shelf. I gave it a quick little sand before putting it up. I know I should give it a finish, but I just really wanted to put it up to get those sweet wife-approval points.
90% of drilling holes in the wall is measuring where to drill. After some fidgeting, I got the holes measured and everything looked good.
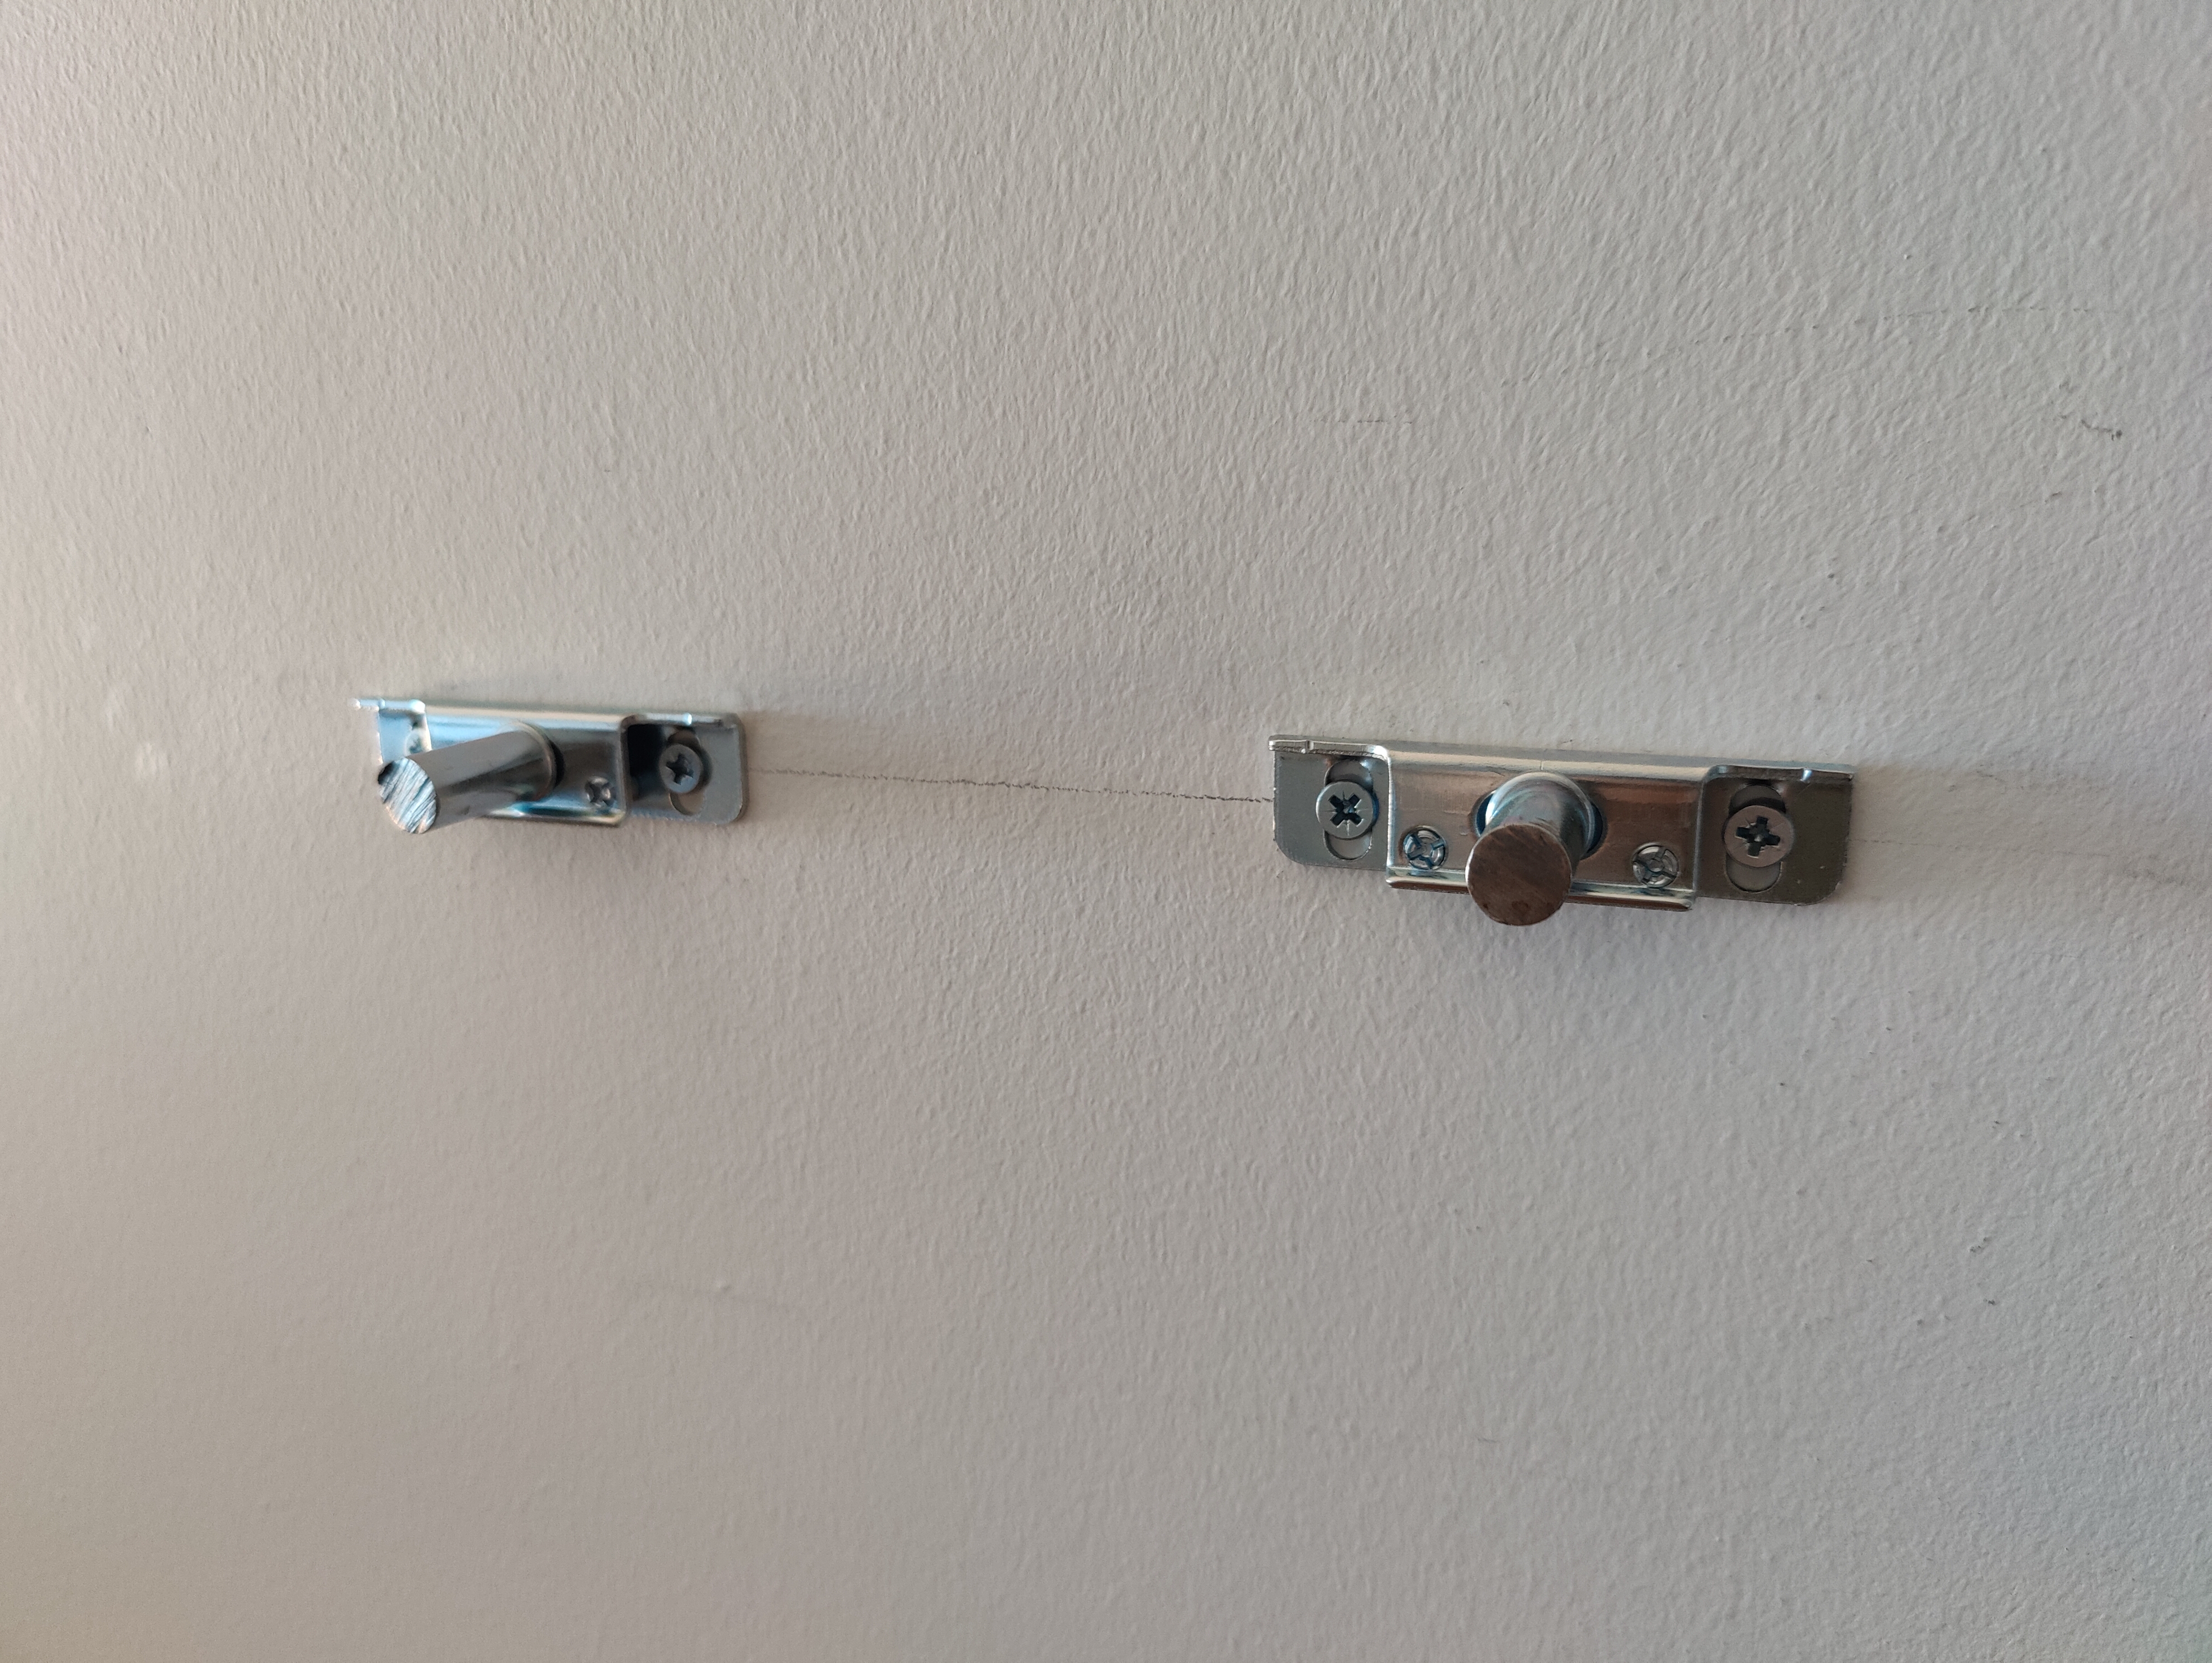 Mounts looking good
Almost swearing and giving up.
I had been very precise, but knew it could still be a problem. I was just about to give up completely, when i discovered that the rods could be moved on the mounts. The millimeter adjustments needed was crucial, as I wanted a tight fit. There was no room for error or slack. Which in hindsight might not have been the smartest.
Success after all!
When I finally got the rods a single cm on, I became more hopeful. But it seemed that it would not go further. But that is when I realized just how tight the fit was. This was one of those rare problems that actually has to be solved by a hammer .
Testing with records
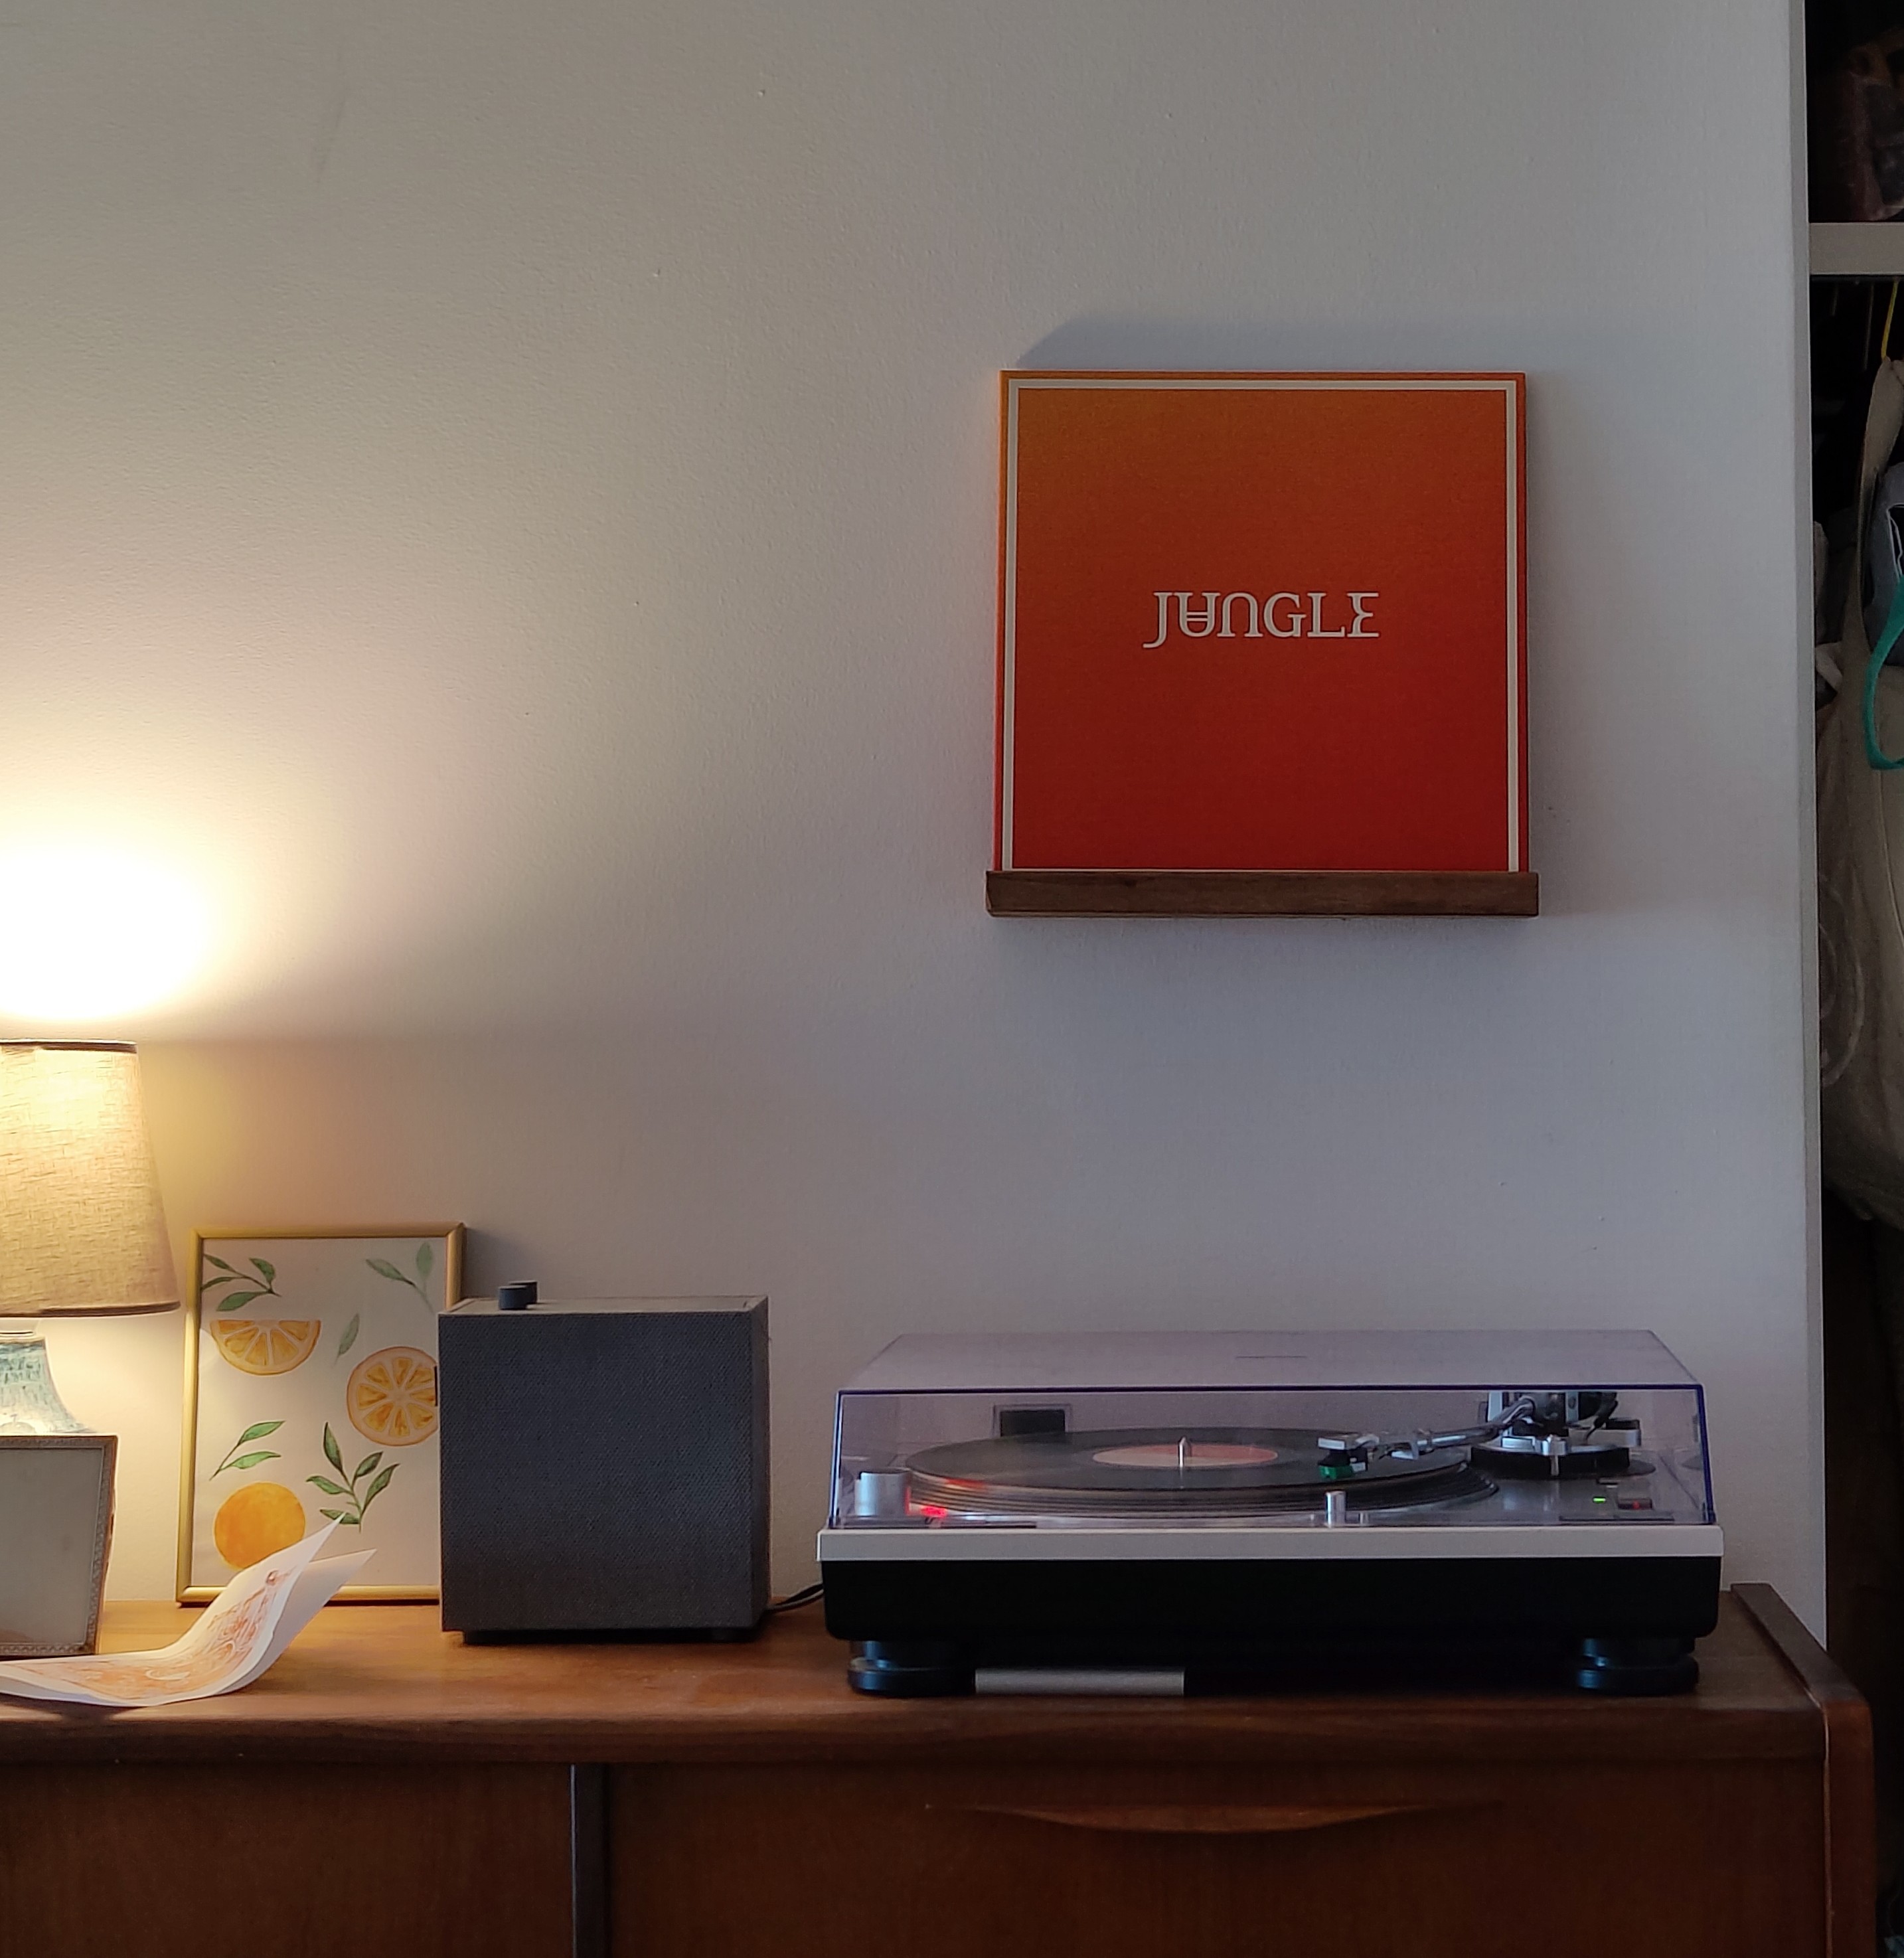
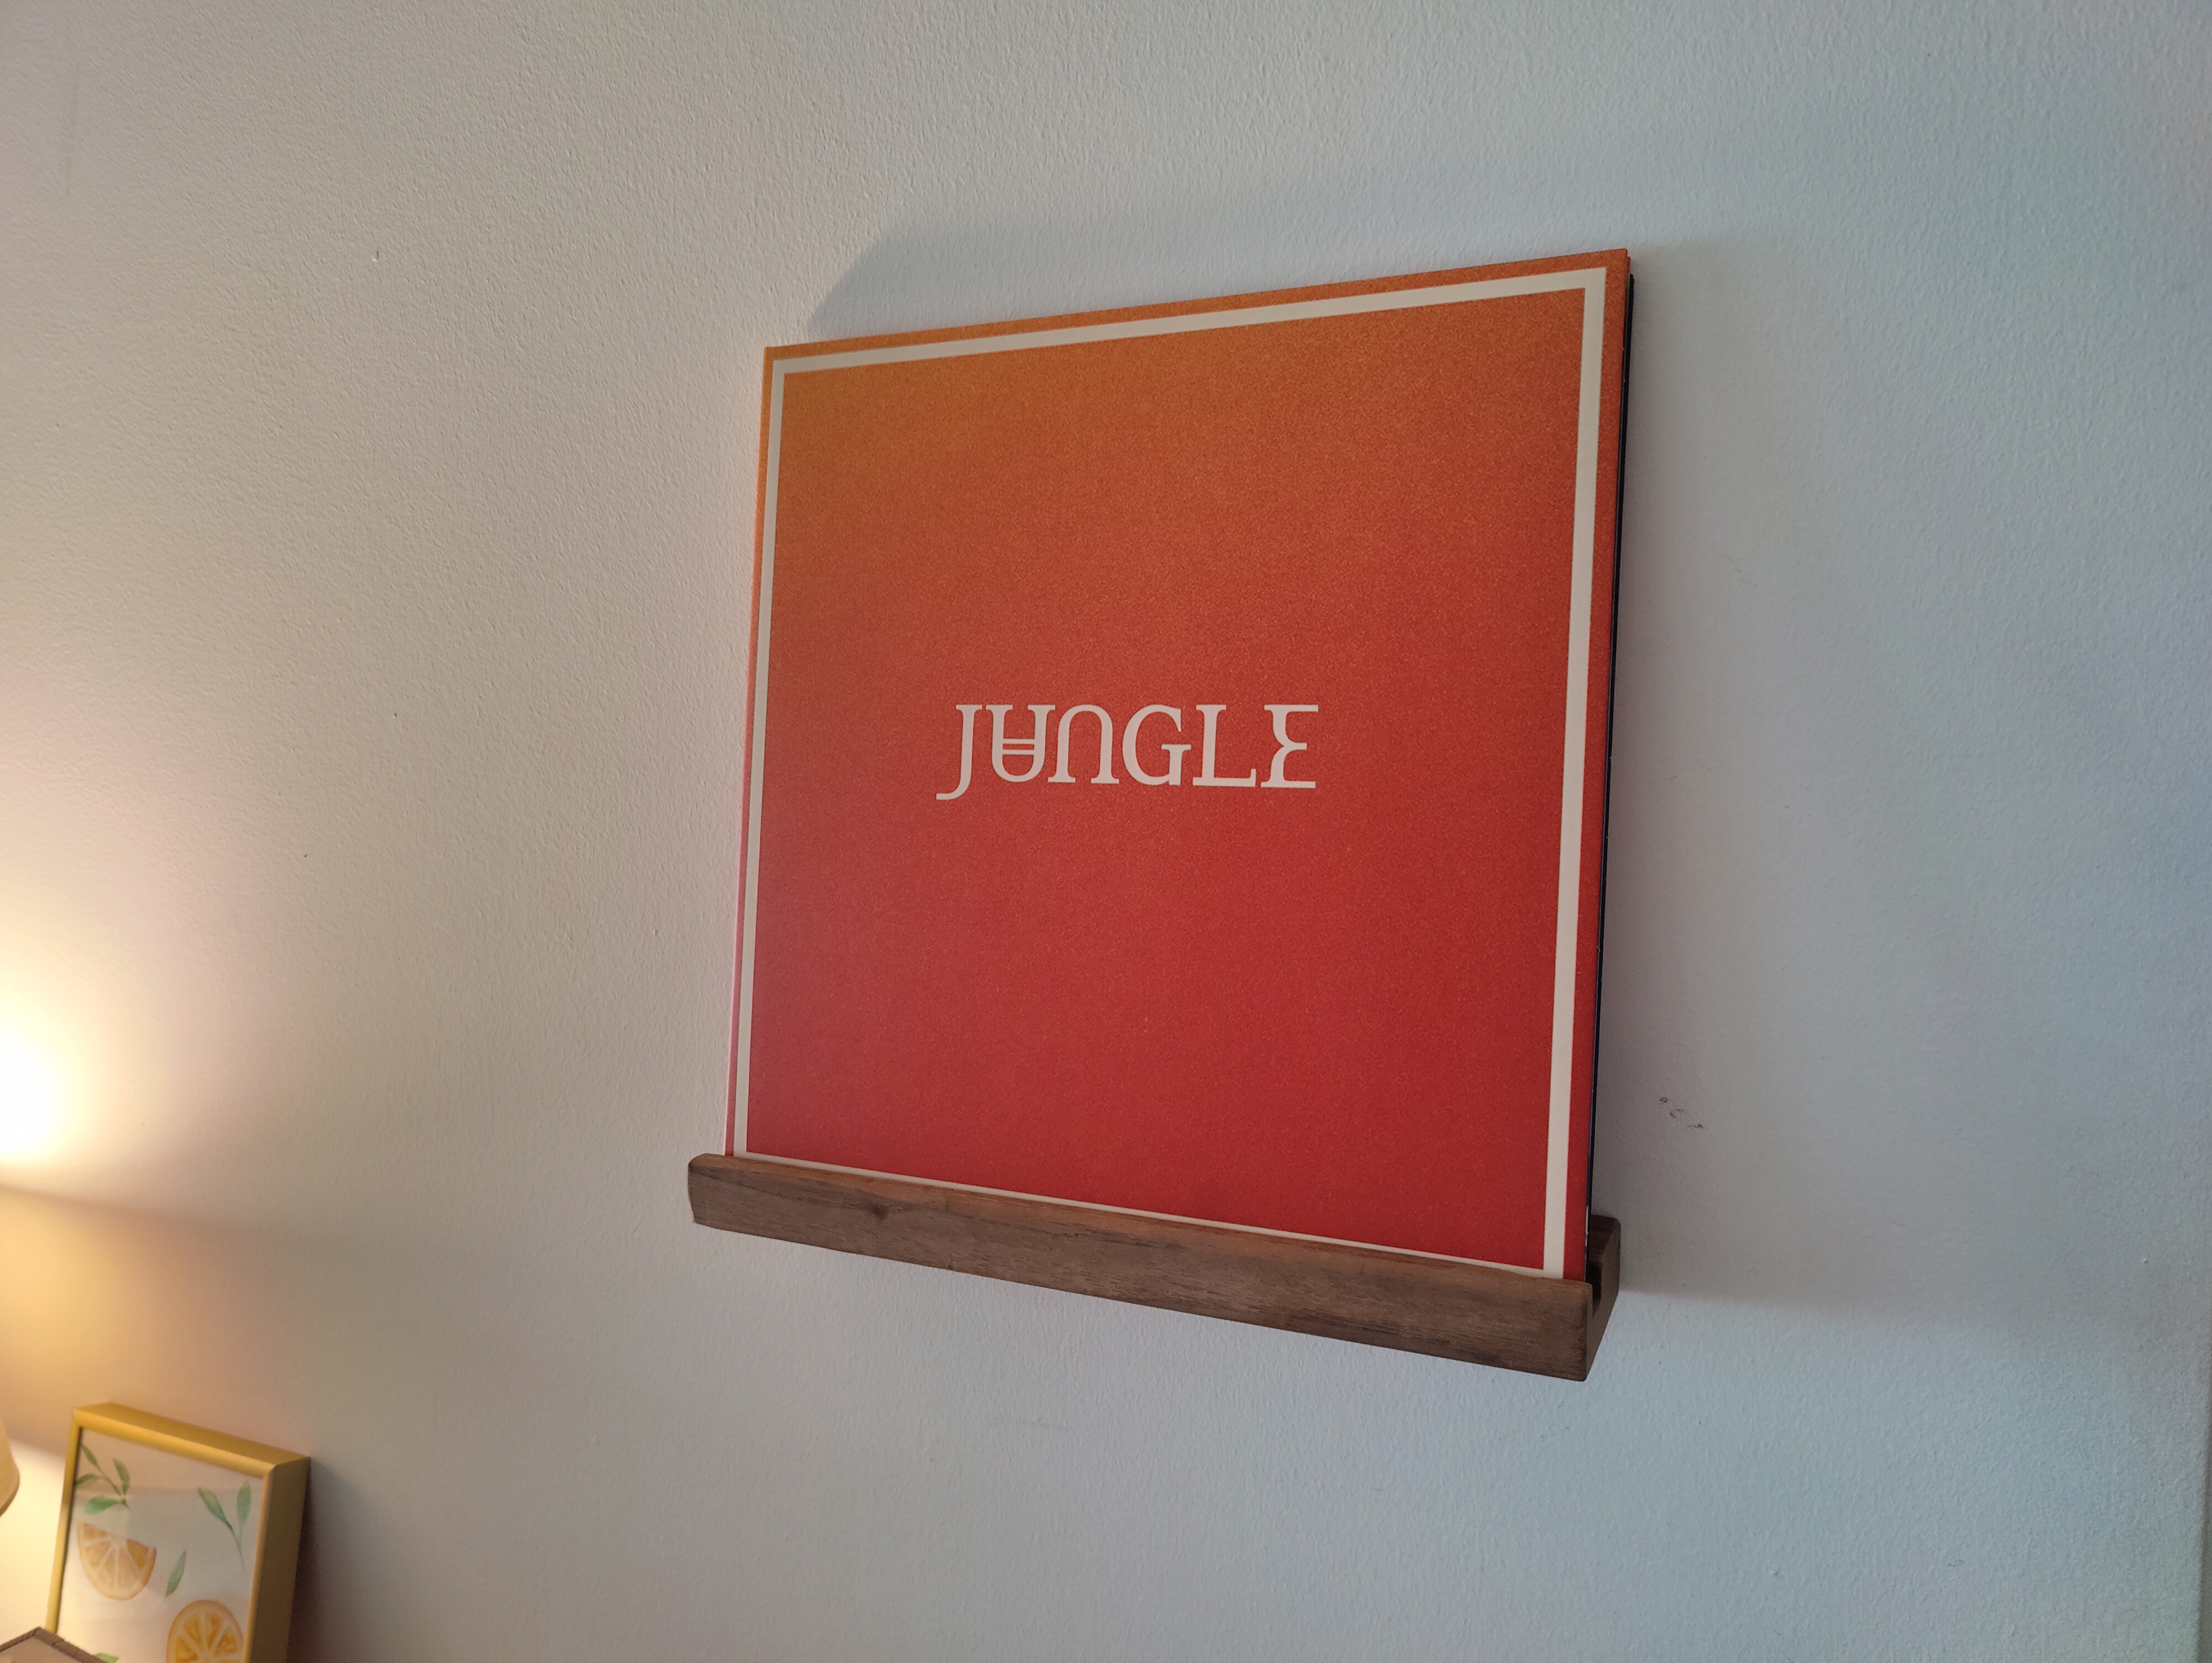
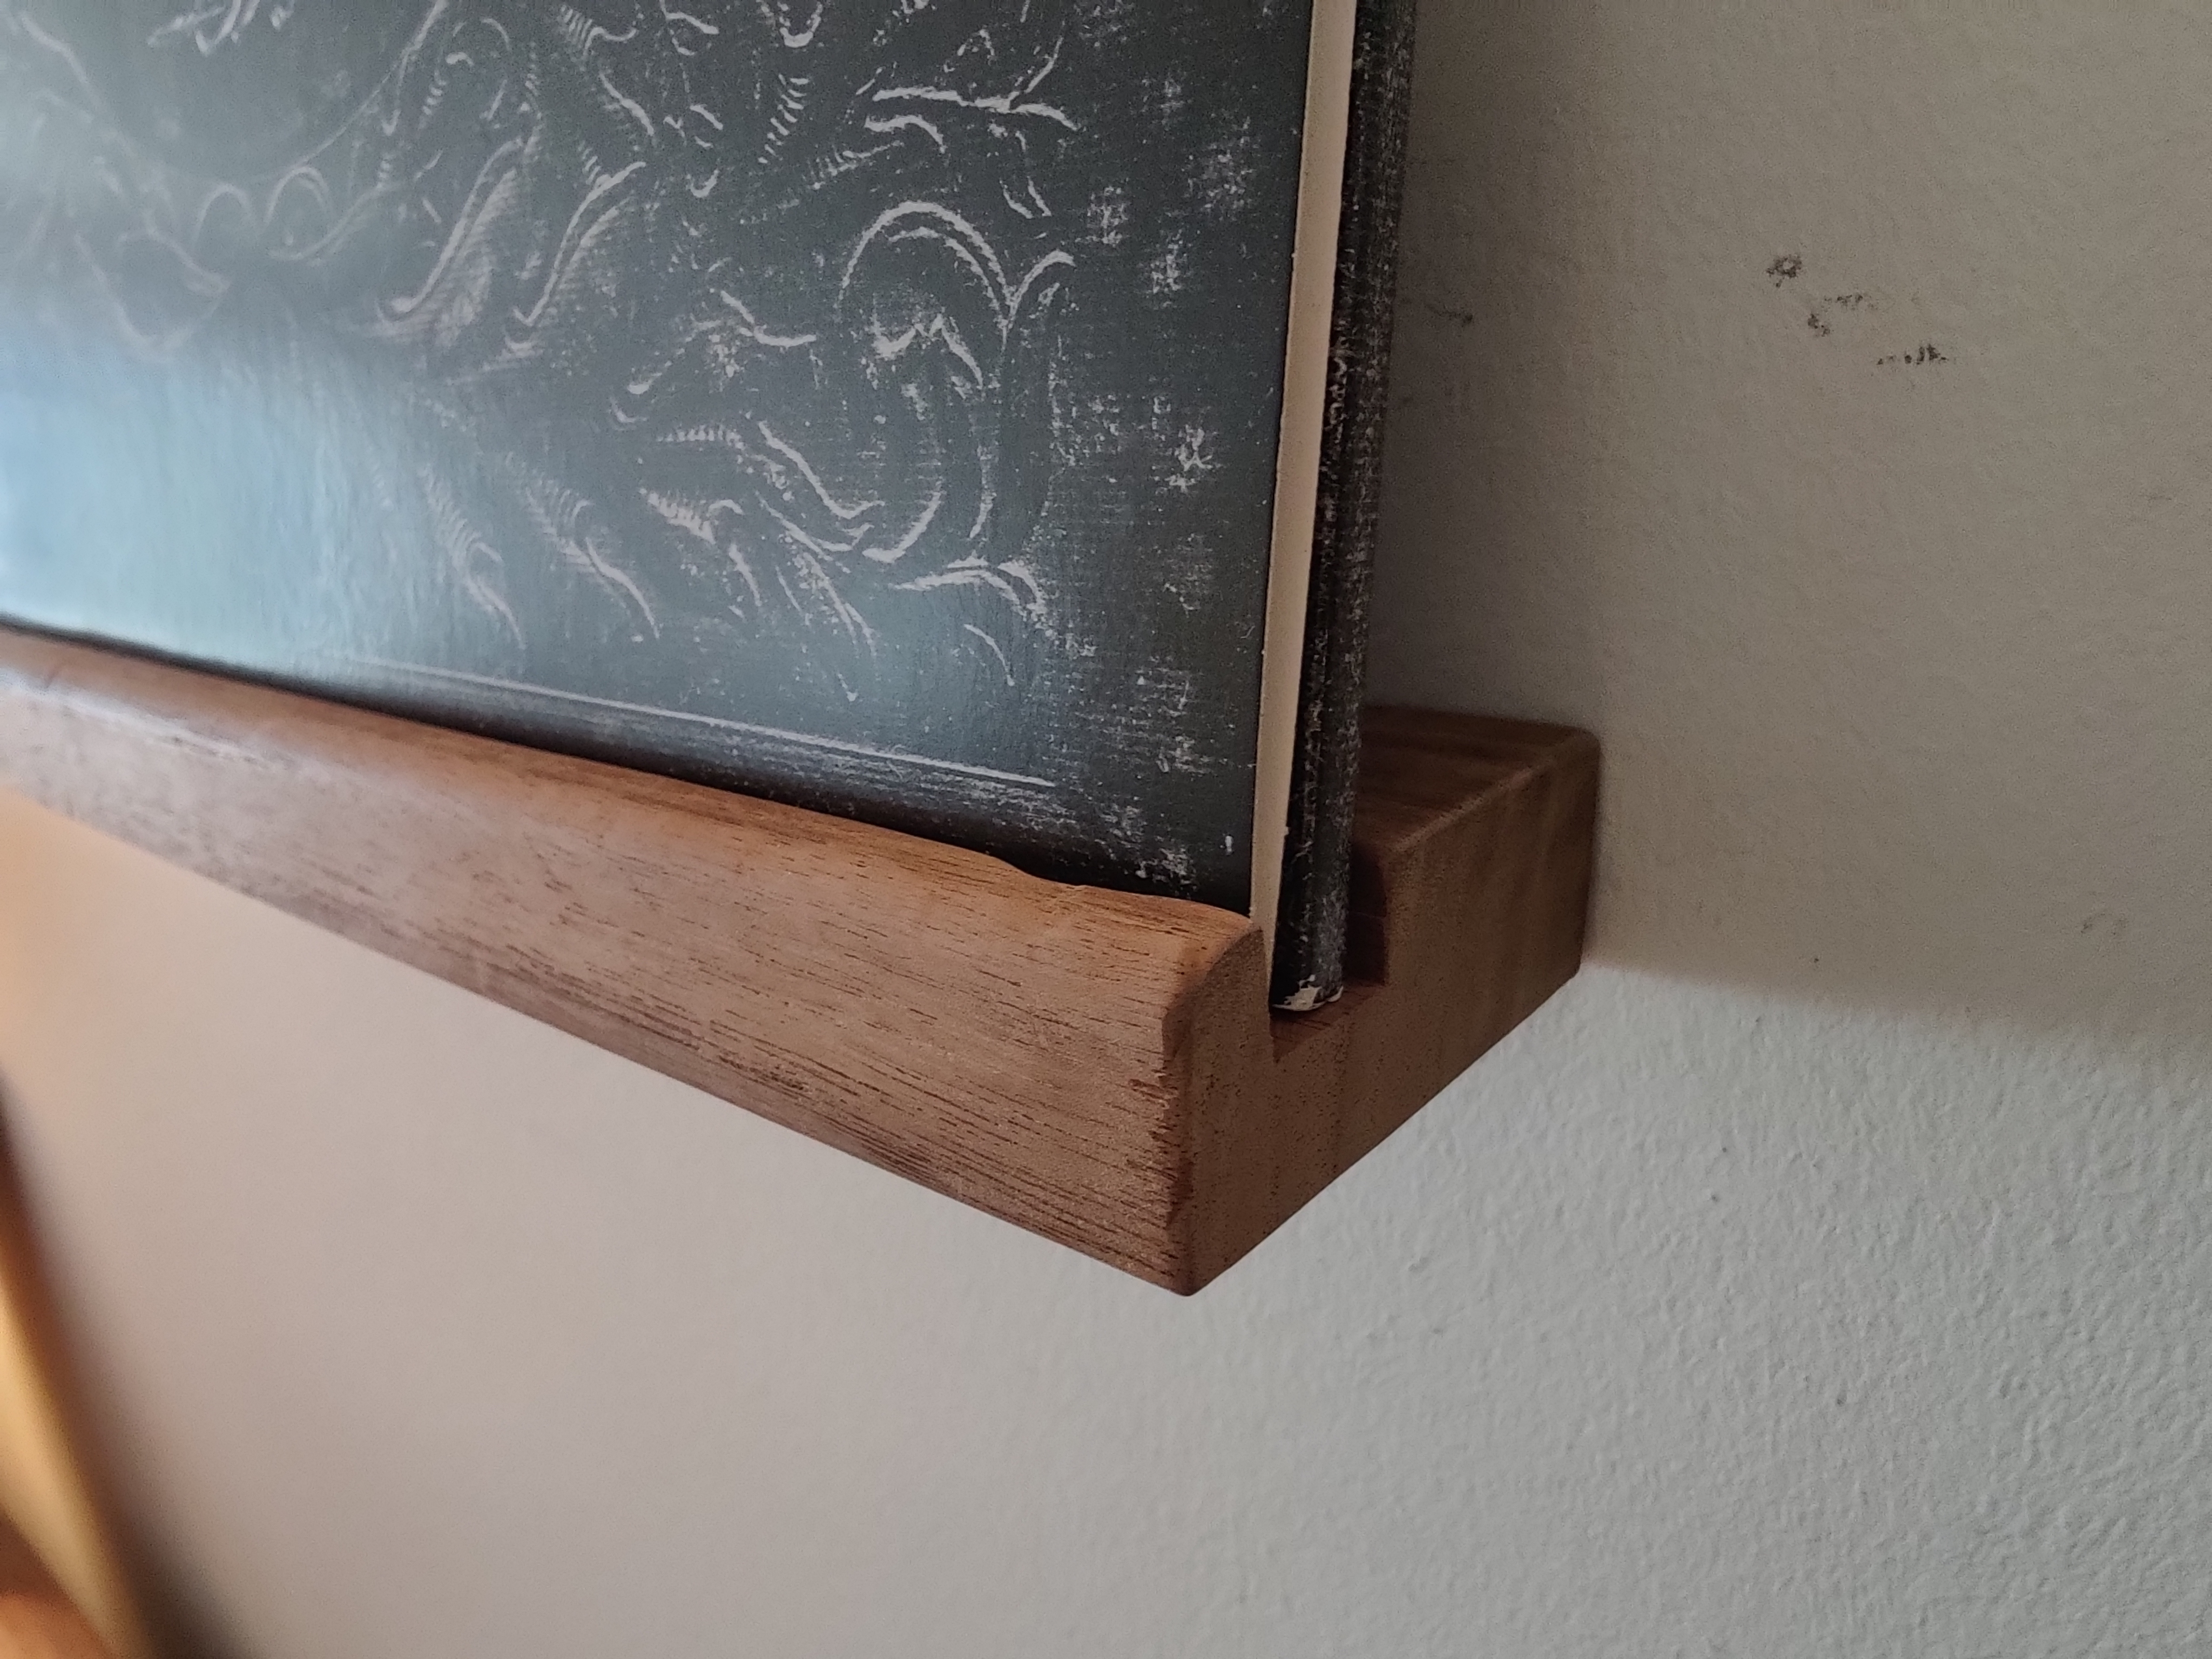
Here I am testing with records of different size and genre. The shelf needs to be stable enough to hold heavy metal as well as light Jazz. (Sorry)
- 1 disc, Jungle, Volcano, 2023
- 3 discs, The Neal Morse band, The great adventure, 2019
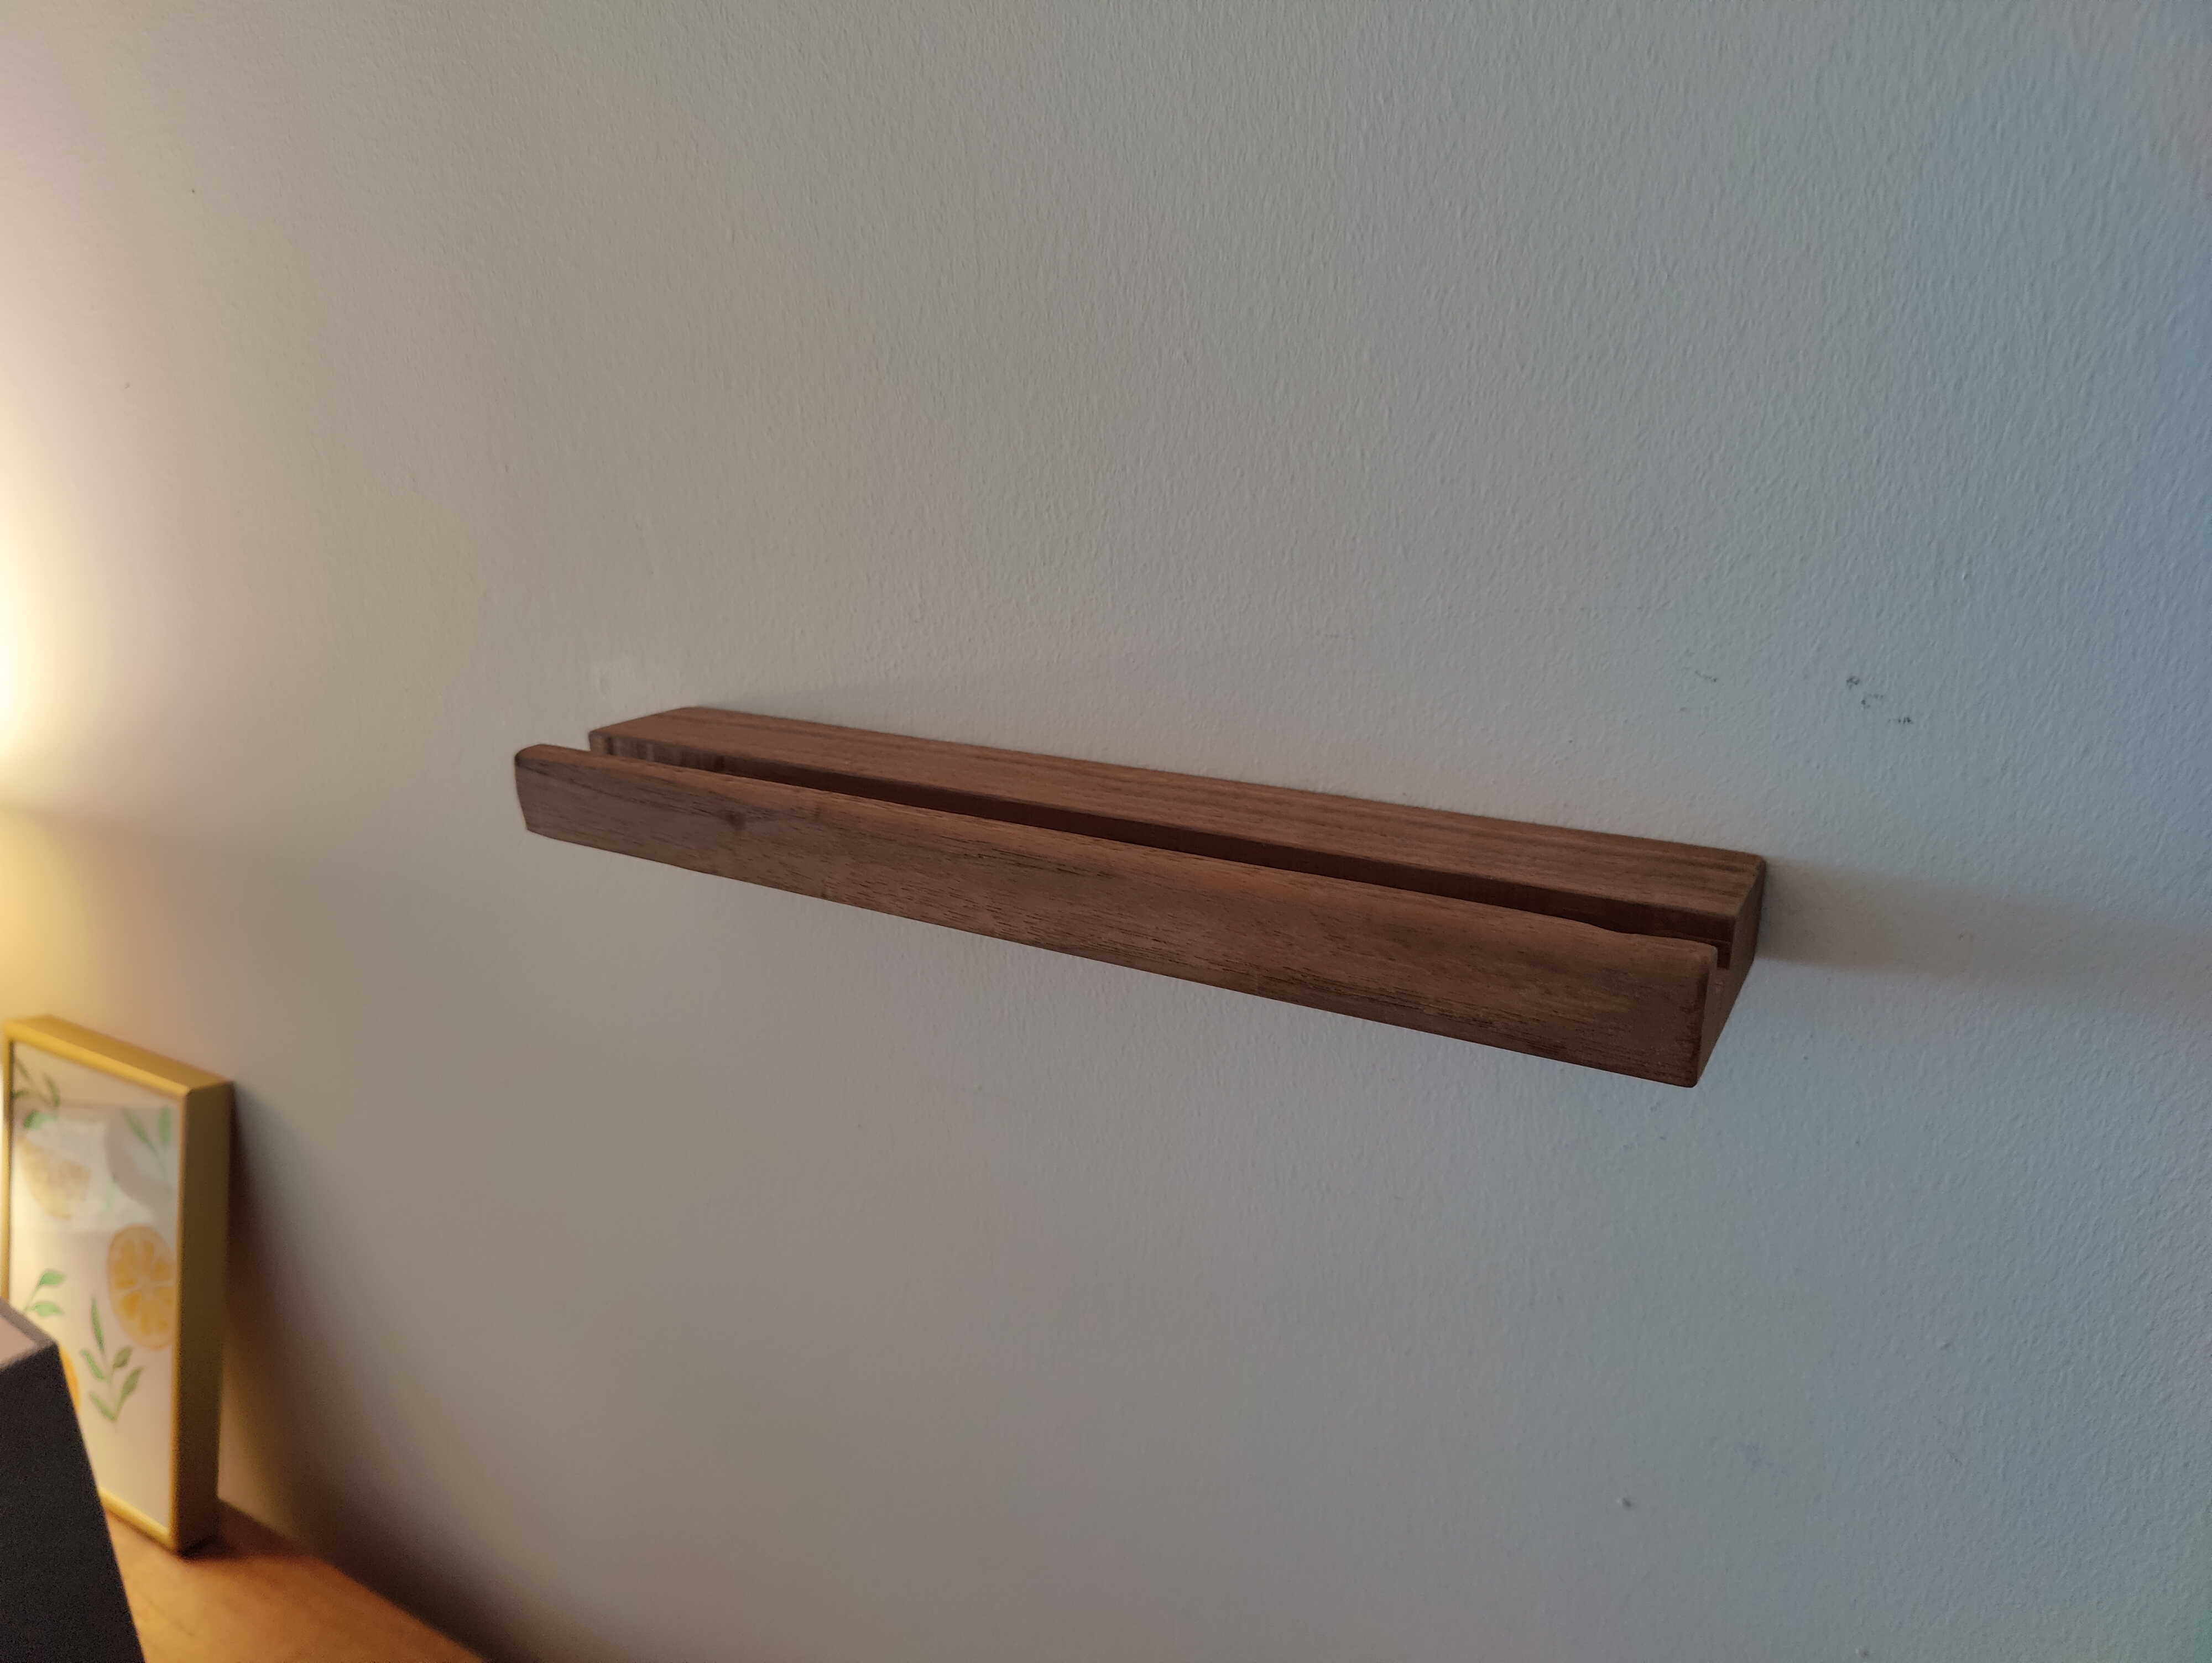
Final Thoughts
Here is a lightly cluttered shot of the finished product and how it looks. Thanks for scrolling this far. Yes, I am aware that you should not place the speaker and record player on the same furniture, but I don’t play nearly loud enough for that to be an issue.
Overall, I am very pleased with the result and look. This was the first pancake, and those are never perfect. The next vinyl record sleeve shelf will be better, but only marginally so I think. I am happy with the mounts, despite being fidgety in the end. That is actually what saved me and the project, as I was a few millimeters off with my drilling or measurements.
On top of that, I also had a “build furniture” on my 2025 bingo card. So that can almost be crossed off. If we count a shelf as furniture.
Ingredients
Here are the most valuate tools for this project, should you want to give it a whirl yourself. I’ve excluded small things like screws, bits and patience, as those are just the salt and pepper of diy projects.
Tools:
- Router - Bosch ACE POF 1400 Router
- Chisel - 10mm chisel
- Plane - Stanley No. 4 plane
- Drilling helper - Milescraft Drillmate
Loading comments…